
Humidity trays for houseplants are a simple way to add a little moisture to the air right around your plant — especially during heating season when indoor air turns dry fast. They won’t turn a room into a rainforest, but used correctly, they can help sensitive plants look less crispy.
Contents
- 0.1 What a humidity tray actually does
- 0.2 Do humidity trays for houseplants really work?
- 0.3 Best plants for humidity trays
- 0.4 How to set up humidity trays for houseplants the right way
- 0.5 Where to place a humidity tray for best results
- 0.6 Common humidity tray mistakes that cause problems
- 0.7 How to tell if your tray is helping
- 0.8 FAQs About Humidity Trays for Houseplants
- 0.9 Final Thoughts on Humidity Trays for Houseplants
- 0.10 Related Articles
- 1 Build a Small Setup That Keeps Tropical Plants Happier
Quick answer: humidity trays for houseplants
A humidity tray raises humidity slightly in the air closest to the pot and leaves.
Use a wide, shallow tray and keep the pot above the waterline (never sitting in water).
Works best for small tropical plants grouped together.
Pair with good light and sensible watering — humidity can’t fix soggy compost.
If you need a bigger jump in humidity, a small humidifier usually does more.
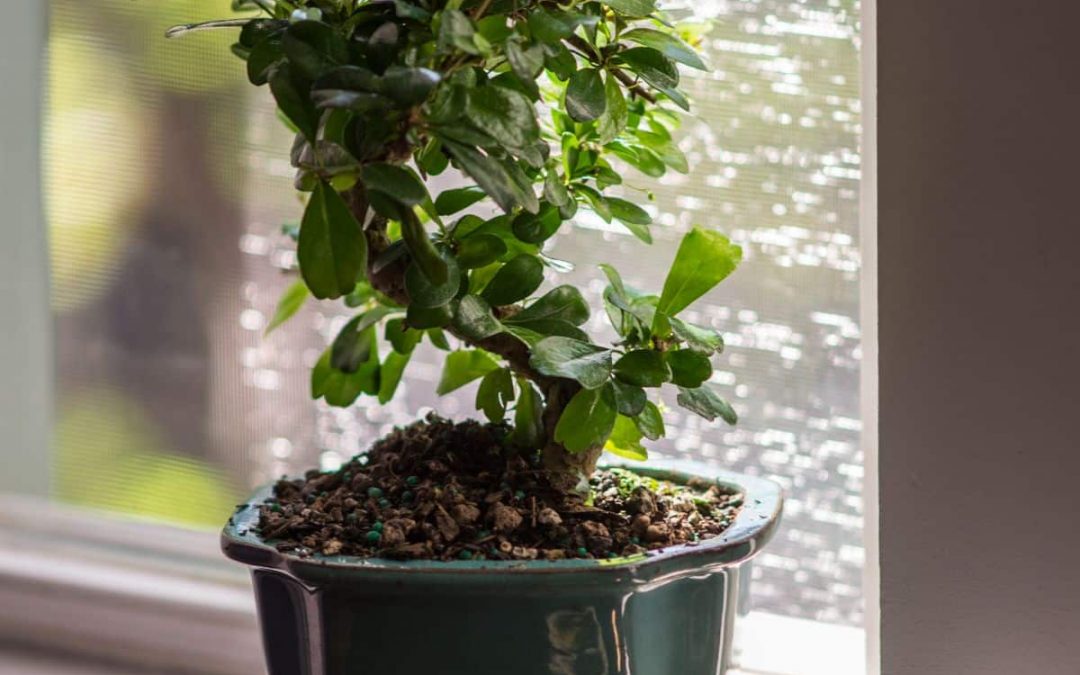
Do this first: Check the pot base. If it’s sitting in water, lift it onto pebbles so the roots stay dry while the water evaporates around it.
If dry air is a regular issue in your home, Balance Humidity for Indoor Plants is a helpful follow-on read for combining trays, grouping, and ventilation in a way that actually feels doable.
What a humidity tray actually does
A humidity tray (often called a pebble tray) is just water in a shallow tray under a plant. As that water evaporates, it slightly increases humidity around the plant.
Here’s the key: it’s local humidity, not whole-room humidity. You’re creating a small “bubble” of slightly moister air right around the plant — which is why tray size, plant size, and placement matter.
Do humidity trays for houseplants really work?
They can help a bit — but the effect is usually modest. In a warm, dry room with airflow, the moisture disperses quickly, so the tray mainly helps the immediate area around the plant.
Humidity trays tend to work best when:
the tray is wide (more surface area = more evaporation)
the plant is small to medium (easier to affect the air around it)
you group plants around the same tray (they share a microclimate)
the plant is in a spot that isn’t blasted by hot, dry airflow
If you’re trying to help plants that hate dry air, Best Temperature Range for Indoor Plants can make a surprising difference too — because radiators and heat vents dry plants out faster than people realise.
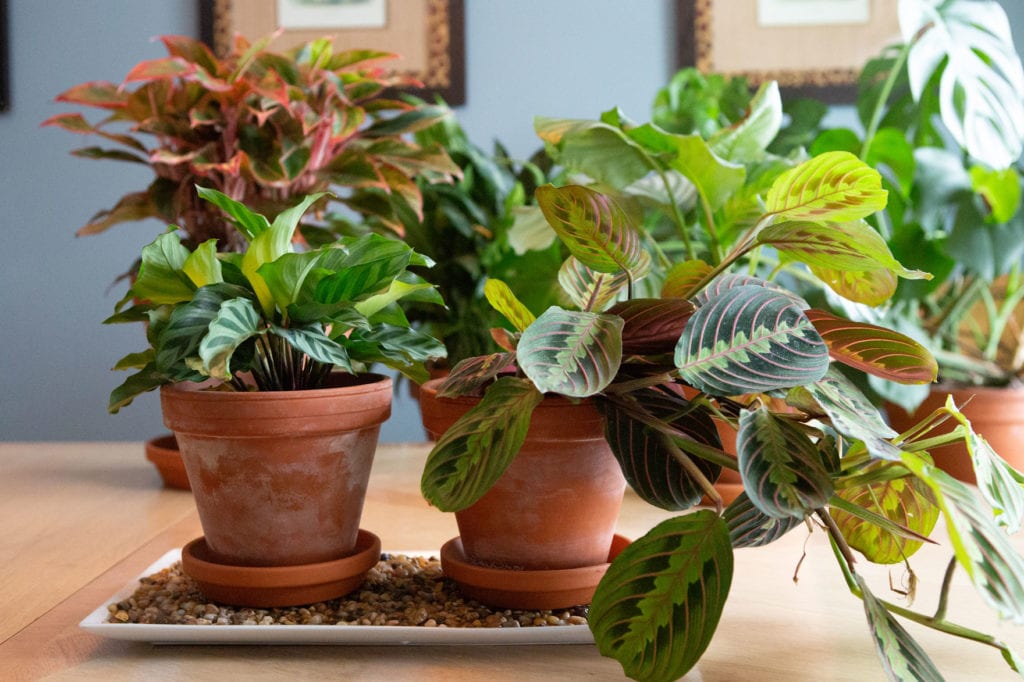
Best plants for humidity trays
Before you bother setting one up, it helps to know which plants are likely to notice it.
Humidity trays are most useful for:
ferns and ferny plants
calatheas and marantas
fittonia (nerve plant)
many young tropical plants with thin leaves
They’re usually not worth it for:
succulents and cacti
plants that prefer dry air (many hardy, thick-leaf houseplants)
plants already struggling with overwatering or slow drying compost
How to set up humidity trays for houseplants the right way
This is the bit that matters most. A good setup keeps roots dry while still allowing evaporation.
Step-by-step setup
- Pick a wide, shallow tray (wider is better than deeper).
- Add a layer of pebbles or clay balls.
- Pour water in so it sits just below the top of the pebbles.
- Place the pot on the pebbles, not in the water.
- Top up as it evaporates, and rinse the tray occasionally to avoid gunk.
A bag of LECA clay pebbles is an easy, clean option because it’s lightweight and reusable.
The “no swamp” rule
If the pot base is touching water, you’re not increasing humidity — you’re risking root rot. If you want a proper checklist for early root rot signs and what to do next, Root Rot in Houseplants fits naturally here.
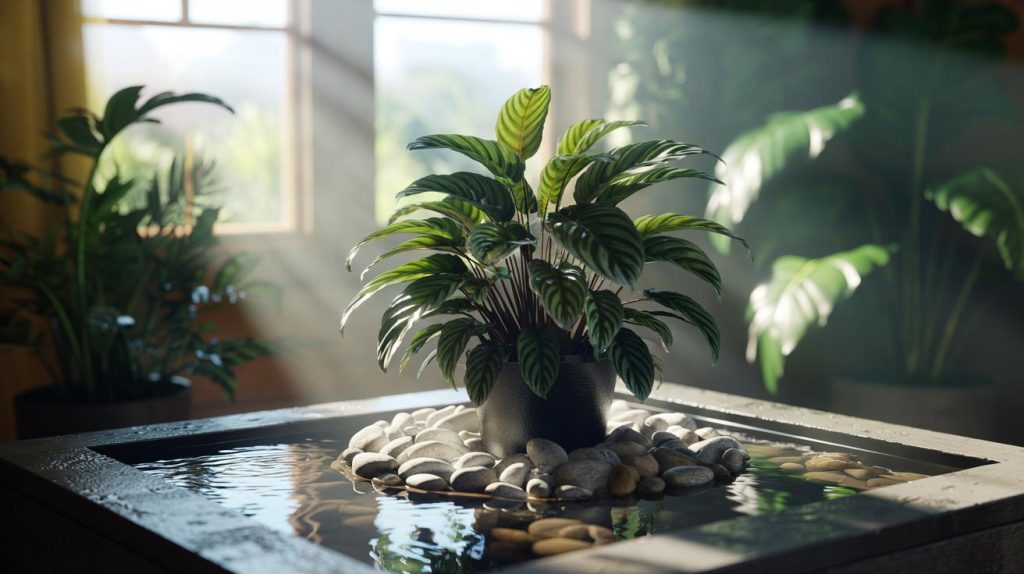
Where to place a humidity tray for best results
Placement decides whether the tray helps or just evaporates into the room.
Best placement
near the plant’s usual spot (so the leaf area benefits)
away from direct heat blasts (radiators, vents)
where the tray can evaporate steadily (not stuck in a cold corner)
Avoid these spots
directly above a radiator (evaporates fast and dries the plant faster too)
tight, dark corners where compost stays wet longer
anywhere the tray is likely to be knocked (spills are annoying)
If you’re building a repeatable “plant check” habit, Indoor Plant Maintenance Routine makes it easier to remember topping up, wiping leaves, and doing quick pest checks in one go.
Common humidity tray mistakes that cause problems
A humidity tray is meant to make things easier — but a few mistakes can backfire.
Mistake 1: Letting the water go stagnant
Stagnant water can smell, get slimy, and attract fungus gnats. Rinse the tray and refresh the water now and then. If tiny flies are already showing up around pots, Fungus Gnats is a useful quick read to stop the cycle.
Mistake 2: Using a tiny tray under a big plant
A small saucer under a large plant rarely does much. A wider tray gives you the evaporation surface area that matters.
Mistake 3: Thinking humidity replaces watering discipline
Humidity helps leaves cope — it doesn’t fix soggy compost. If you’re battling inconsistent watering, Indoor Plant Watering Mistakes is a good tidy-up read.
How to tell if your tray is helping
Humidity is hard to judge by “feel” because homes vary a lot. A simple way to take the guesswork out is measuring.
A small digital hygrometer for indoor plants lets you see whether humidity is actually improving in the plant’s area (especially helpful if you’re trying to hit a target range for calatheas/ferns).
For a simple, plant-safe way to raise humidity, the Royal Horticultural Society’s houseplant growing guidance suggests setting pots on a saucer over a tray of moist gravel or hydroleca, or grouping plants to increase local humidity.
Tip: Place the hygrometer near leaf height (not on the floor) for a more useful reading.
FAQs About Humidity Trays for Houseplants
Do humidity trays cause mould?
Not by themselves, but they can contribute if the room already has poor airflow and compost stays wet. Keep the pot above water and avoid overwatering.
Can I use a humidity tray for orchids?
It can help slightly, but orchids often benefit more from good airflow and stable humidity. If humidity is a big issue, a humidifier usually makes a larger difference.
How often should I refill a humidity tray?
Whenever the water drops below the pebble line. In dry homes it might be every few days; in more humid rooms it could be weekly.
Should the tray be bigger than the pot?
Ideally yes. A wider tray increases evaporation area and improves the chance the leaves benefit.
Final Thoughts on Humidity Trays for Houseplants
Humidity trays for houseplants are best thought of as a small, steady boost, not a miracle fix. Use a wide tray, keep the pot base out of the water, and combine it with grouping and sensible placement away from hot airflow. If your plants still look crispy, measuring humidity (or adding a small humidifier) is usually the next step.
Related Articles
Make humidity care simpler (without turning your home into a spa)
Build a Small Setup That Keeps Tropical Plants Happier
A tray alone won’t fix every crisp leaf, but combined with smart placement, grouping, and a quick weekly check, it’s a simple upgrade that reduces stress for humidity-loving plants. If you’re building a more reliable indoor setup overall, this next page pulls the basics together.