
If you’re searching for the best fertiliser for orchids indoors, the goal is simple: steady, gentle feeding that supports roots and blooms without burning them. Most indoor orchids do best with a balanced orchid fertiliser used weakly and consistently.
Contents
- 0.1 Why orchids need a gentler fertiliser indoors
- 0.2 The best type of fertiliser for indoor orchids
- 0.3 Top picks made simple
- 0.4 A simple indoor orchid fertilising schedule that works
- 0.5 How to fertilise orchids without burning roots
- 0.6 Bark vs moss: feeding tweaks that prevent problems
- 0.7 Fast fixes when fertilising isn’t helping
- 0.8 FAQs About Orchid Fertiliser Indoors
- 0.9 Final Thoughts on the Best Fertiliser for Orchids Indoors
- 0.10 Related Articles
- 1 Build a Simple Indoor Care Routine That Actually Sticks
Quick answer: best orchid fertiliser indoors
Use a balanced orchid fertiliser at ¼ strength as your safest starting point
Fertilise when you see growth (new roots/leaves), reduce when growth slows
Water first, then fertilise (never feed dry roots)
Flush with plain water monthly to prevent salt build-up
If you’re forgetful, slow-release orchid fertiliser pellets can be the easy option
Do this first: Check what your orchid is potted in (bark vs moss). Bark dries faster, moss stays wet longer — and that changes how often you should fertilise.
Why orchids need a gentler fertiliser indoors
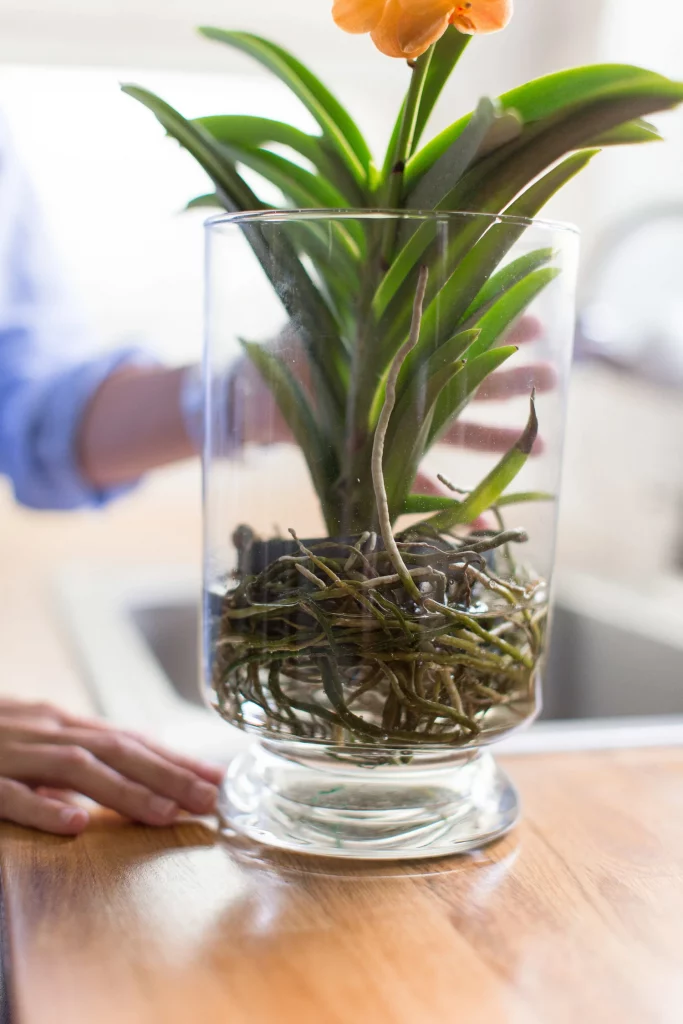
Orchid roots are designed for airflow. Indoors, they’re easy to stress if feed is too strong or if salts build up in the pot. That’s why most orchid success comes from low doses, repeated regularly, rather than heavy feeding.
If you want a simple background explainer on feeding indoor plants (without the confusing jargon), Liquid Fertilizer makes the basics easy to follow.
The best type of fertiliser for indoor orchids
For most indoor growers, you don’t need a complicated formula. You need something you’ll use consistently.
Balanced orchid fertiliser (best all-rounder)
A balanced fertiliser supports leaf growth, roots, and flowering without pushing too hard. It’s usually the easiest “one bottle” solution for indoor orchids.
A balanced orchid fertiliser used at quarter strength is the safest place to start for most homes.
Best for: beginners who want one simple option that works.
Urea-free orchid fertiliser (nice upgrade for bark)
If you grow in bark and fertilise regularly, urea-free formulas are sometimes preferred. You don’t need this to do well, but it can suit people who keep a steady routine.
Best for: regular feeders using bark mixes.
Slow-release orchid fertiliser pellets (best for forgetful feeders)
If you often miss feeds, slow-release pellets can keep things ticking along without you thinking about it every week.
Best for: busy plant owners who want low-effort feeding.

Top picks made simple
If you only buy one…
Choose a balanced orchid fertiliser and stick to a simple schedule at ¼ strength.
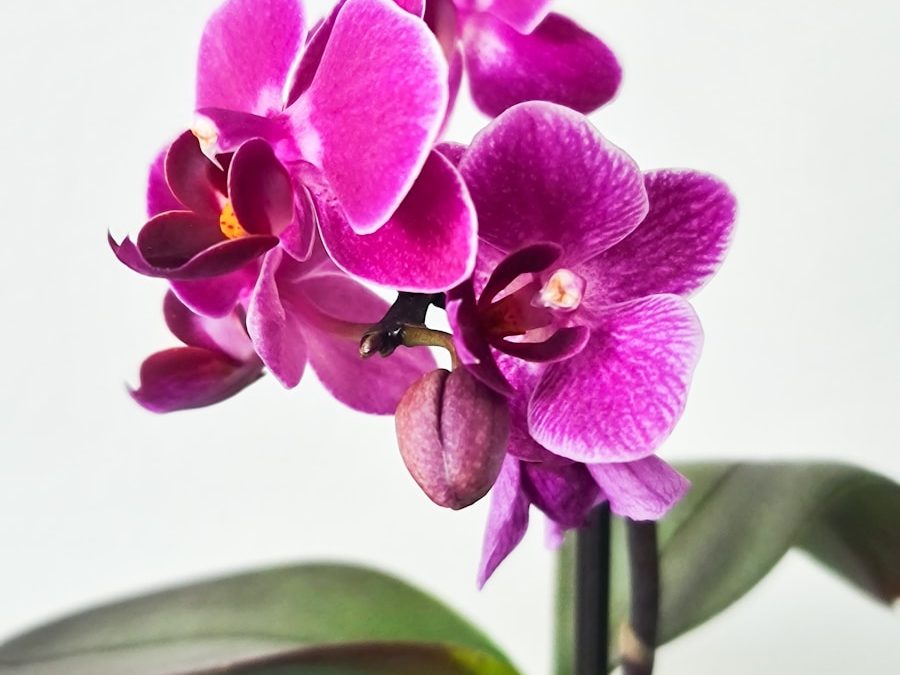
Best for: most indoor orchids, especially Phalaenopsis.
If you want the easy mode setup…
Use a fertiliser you can apply consistently (either a balanced feed on a routine, or slow-release pellets if you forget).
Best for: staying consistent without overthinking it.
A simple indoor orchid fertilising schedule that works
Orchids respond best to a routine you can repeat.
During active growth (new roots/leaves)
Fertilise every 1–2 weeks at ¼ strength
Water first, then fertilise
Once a month, flush with plain water until it runs through well
When growth slows (often winter in darker homes)
Fertilise once a month, or pause if there’s truly no growth
Keep the monthly flush if you fertilise at all
If you’re using grow lights and your orchid is still actively growing, it may keep moving through the year — just keep the dose low. If you’re unsure whether your light is strong enough for repeat blooms, Best Lights for Indoor Gardening helps you judge it clearly.
How to fertilise orchids without burning roots
Orchid fertiliser burn usually happens for two reasons: feed hits dry roots, or salts build up over time. This routine avoids both.
- Water first (so roots are hydrated)
- Mix fertiliser weaker than the label suggests (start at ¼ strength)
- Fertilise, then let the pot drain fully (no standing water)
- Flush monthly to wash out salts
Bark vs moss: feeding tweaks that prevent problems
If your orchid is in bark
Bark dries quicker, so orchids are often watered more frequently. That usually means you can fertilise a little more consistently (still weak).
Fertilise: ¼ strength every 1–2 weeks in growth
Flush: monthly
If your orchid is in moss
Moss holds water, so salts can build up faster if you fertilise heavily. Keep it gentler and watch drying time.
Fertilise: every 2 weeks (or less) during growth
Let the pot lighten slightly between waterings
Flush: monthly
If your potting mix stays wet and the plant seems unhappy even though you’re “doing everything right”, it can be a drainage/root issue rather than a fertiliser issue. Root Rot Houseplants is a useful check if you want to spot early warning signs.
Fast fixes when fertilising isn’t helping
Leaves look dark green but no blooms
This is often light, not fertiliser. Increase light first (or stabilise temperatures) before feeding more.
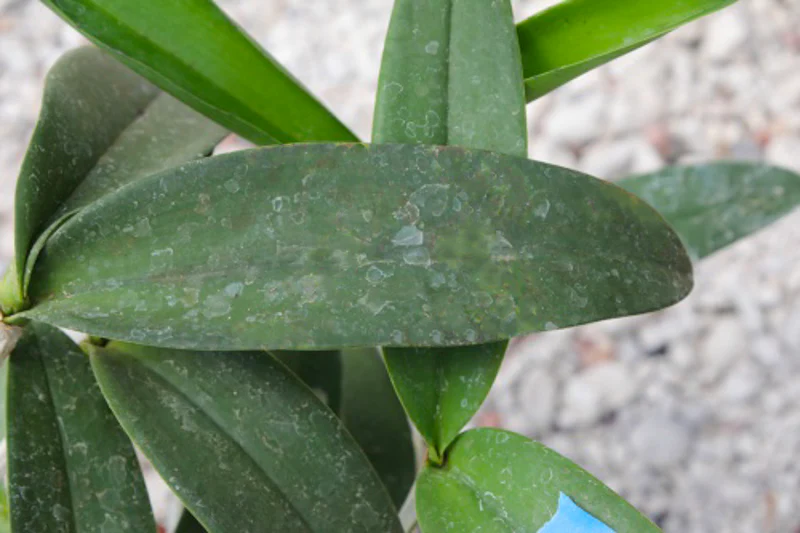
White crust on the pot/media
That’s salt build-up.
Flush thoroughly with plain water
Reduce fertiliser strength for a month
Roots look brown/mushy
Stop fertilising and fix watering/drainage. Feeding won’t rescue rotting roots.
The orchid looks tired after a mistake
If you think you’ve overfed or stressed it, Revive Dying Houseplant can help you reset calmly with the basics.
FAQs About Orchid Fertiliser Indoors
How often should I fertilise orchids indoors?
Usually every 1–2 weeks at ¼ strength during growth, then reduce to monthly (or pause) when growth slows.
Can I use normal houseplant fertiliser on orchids?
You can, but dilute more than usual and flush monthly. Orchids are easier to burn than typical houseplants.
Do orchids need “bloom booster” fertiliser?
Not usually. Consistent light and gentle feeding matter more than special formulas.
Should I fertilise in winter?
Only lightly, and only if the orchid is actively growing. If it’s dormant, feeding isn’t necessary.
What’s the safest fertiliser strength for beginners?
Start at ¼ strength. If the orchid responds well over time, you can adjust — but it’s much safer to start weak.
Final Thoughts on the Best Fertiliser for Orchids Indoors
For most homes, the best fertiliser for orchids indoors is a balanced orchid fertiliser used at ¼ strength, paired with a monthly flush to prevent salt build-up. Keep it gentle, watch for active growth, and remember: more fertiliser doesn’t mean more blooms — good light and steady care do.
Related Articles
KEEP ORCHIDS HEALTHY WITHOUT GUESSWORK
Build a Simple Indoor Care Routine That Actually Sticks
When orchids struggle, it’s usually not one “magic product” — it’s a mix of light, watering rhythm, and gentle feeding. A simple routine makes those basics automatic so your orchid stays steady and blooms are more likely.