
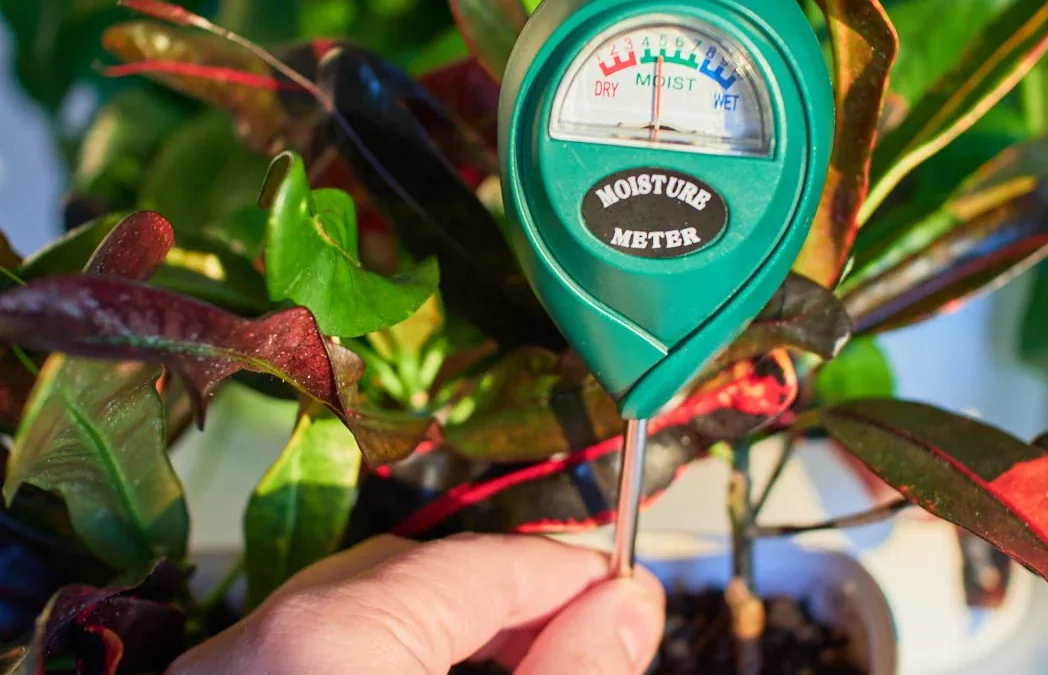
Indoor plant soil moisture meter use is simple once you know where to test, how deep to push it, and when to ignore the reading. Most “my meter says wet but the plant is drooping” problems come down to testing the wrong spot or leaving the probe in too long.
Quick answer: how to use a soil moisture meter
Test halfway between the stem and pot edge (not right next to the stem)
Push the probe 2/3 depth for most pots
Wait 30–60 seconds, then read
Test 2–3 spots and average the result
Wipe the probe after every use (dirty probes = wrong readings)
Do this first: Calibrate your expectations by testing one pot just after watering and again 2–3 days later so you learn what “wet → moist → dry” looks like in your home.
Contents
- 0.1 What a soil moisture meter actually measures
- 0.2 Where to put the probe (this is the #1 mistake)
- 0.3 How deep should it go?
- 0.4 How long to wait before reading
- 0.5 What numbers actually mean
- 0.6 When you should ignore the reading
- 0.7 The fastest “double-check” method (takes 10 seconds)
- 0.8 Common moisture meter mistakes to avoid
- 0.9 Helpful product types that improve results (optional)
- 0.10 FAQs
- 0.11 Final Thoughts on Using a Soil Moisture Meter
- 0.12 Related Articles
- 1 Build a Simple Indoor Watering Routine That Works
What a soil moisture meter actually measures
A soil moisture meter doesn’t “see water” like a sponge test — it reads how easily electricity moves through the compost, which is affected by:
Moisture level
Salt/fertiliser build-up
Soil mix (peat/coco/chunky bark/perlite)
Temperature and compaction
That’s why the same “3” reading can behave differently in different pots.

Where to put the probe (this is the #1 mistake)
If you probe right next to the stem, you’re often testing the wettest or most compacted part of the pot.
Use this simple placement rule:
Small pots (up to 12cm): test 1–2cm from the edge
Medium pots (13–20cm): test midway between stem and edge
Large pots (20cm+): test 2–3 points around the pot edge and one nearer the centre
Best practice: avoid thick roots — if you hit resistance, pull back and try again nearby.
How deep should it go?
Depth depends on pot size and plant type.
Small pots: push to half depth
Most houseplants: push to 2/3 depth
Deep pots / large plants: do two readings (mid-depth and near-bottom)
If you only test the top 2cm, you’ll get “dry” even when the bottom is soaked.
How long to wait before reading
Most probes stabilise quickly, but don’t rush it.
Insert probe
Wait 30–60 seconds
Read
Repeat another spot
Don’t leave it in the soil permanently — that can corrode probes and distort readings.
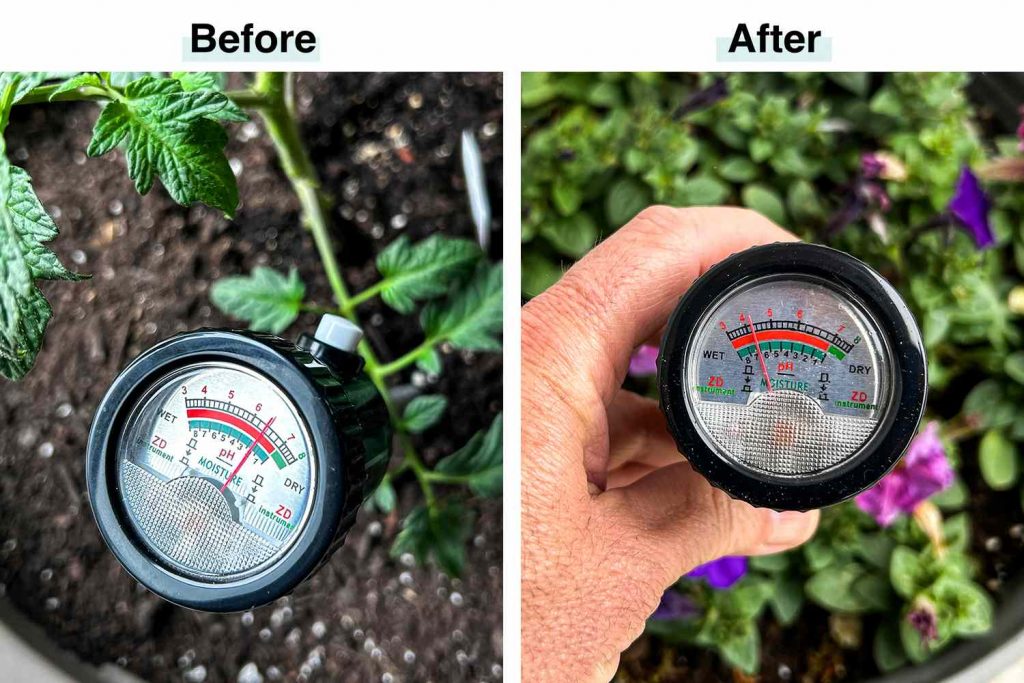
What numbers actually mean
Meters vary, but most use a 1–10 scale.
A good general guide:
1–3 (Dry): most plants want water soon
4–6 (Moist): usually ideal “maintenance zone”
7–10 (Wet): wait — risk of soggy roots
Important: some plants prefer to dry further:
Succulents/cacti: often wait until 1–2
Peace lily/ferns: often water around 3–4
Most houseplants: water around 3 (depending on season and light)
When you should ignore the reading
There are a few situations where meters lie.
1) Very chunky mixes
Orchid bark / aroid mixes can create air pockets so the probe touches dry bark and reads “dry” even when the pot is fine.
Fix: test multiple points, and pair it with the pot weight test.
2) Salt/fertiliser build-up
Fertiliser salts can make soil conduct better → meter reads “wetter” than reality.
Fix: occasionally flush thoroughly and reduce feeding strength.
3) Root-bound pots
If roots fill the pot, there’s less soil to hold moisture and the meter can swing quickly.
Fix: repot or water smaller amounts more often.
4) Very dry, hydrophobic compost
Old compost can repel water; top looks wet but it runs down the sides.
Fix: bottom-water or soak, then test again after 10 minutes.
The fastest “double-check” method (takes 10 seconds)
Use two signals:
- Moisture meter reading
- Pot weight / finger test / wooden skewer test
If the meter says wet but the pot feels light, trust the weight more.
If the meter says dry but the pot is heavy and cold, wait.
Common moisture meter mistakes to avoid
Testing right after watering and assuming “wet” means it’s healthy
Only testing one spot
Wiping the probe with a wet cloth (leaves residue) instead of dry tissue
Leaving the probe in the soil
Using it in self-watering pots without checking the reservoir separately
Helpful product types that improve results (optional)
A moisture meter is more accurate when the pot drains properly and the mix suits indoor watering.
A simple upgrade is switching to an indoor plant pot with drainage holes and saucer — it stops water pooling at the bottom and makes readings more reliable.
If you’re repotting, using a houseplant potting mix with perlite helps the compost breathe and dry evenly, which prevents those “always wet” meter readings.
FAQs
Should I water as soon as the meter hits “3”?
For most houseplants, around 3 is a good trigger, but adjust by plant type (succulents lower, thirstier plants slightly higher) and season.
Can I leave a moisture meter in the pot?
No — it can corrode and give bad readings. Use it as a quick check, then remove and wipe.
Do moisture meters work for all plants?
They’re best for standard houseplant compost. For very chunky mixes (aroids/orchids), use multiple readings and pair with pot weight.
Why does my meter say wet but leaves are drooping?
That can be root stress (too wet), low oxygen, cold soil, or a hydrophobic mix. Check pot weight, smell, and root condition if it persists.
Final Thoughts on Using a Soil Moisture Meter
A soil moisture meter is a solid tool when you use it like a spot-check, not a “single number decides everything” rule. Test the right place, test more than once, and combine it with pot weight — you’ll avoid both overwatering and panic-watering.
Related Articles
Stop Guessing Your Watering
Build a Simple Indoor Watering Routine That Works
Learn how to check moisture properly, spot overwatering early, and keep your plants steady week to week with a quick, repeatable routine you can follow in minutes.