Contents
- 1 Simple Indoor Plant Maintenance Routine (Weekly Care Checklist)
- 1.1 Why a Weekly Plant Routine Matters
- 1.2 Step 1: Check Soil Moisture and Drainage
- 1.3 Step 2: Inspect for Pests and Leaf Damage
- 1.4 Step 3: Dust and Clean the Leaves
- 1.5 Step 4: Rotate Plants Toward the Light
- 1.6 Step 5: Remove Dead Leaves and Old Blooms
- 1.7 Step 6: Refresh Soil Surface and Check Pot Condition
- 1.8 Step 7: Adjust Humidity and Airflow
- 1.9 Step 8: Track Growth and Health
- 1.10 Helpful Tools for Weekly Maintenance
- 1.11 Related Articles
- 1.12 Keep Your Plants Thriving All Week
- 2 KEEP YOUR PLANTS HEALTHY
Simple Indoor Plant Maintenance Routine (Weekly Care Checklist)
Caring for indoor plants doesn’t have to feel overwhelming. In fact, a little weekly maintenance is all it takes to keep your greenery lush, vibrant, and pest-free.
This easy-to-follow checklist will help you stay on top of watering, cleaning, and inspecting — so your plants stay healthy year-round.
Why a Weekly Plant Routine Matters
Plants thrive on consistency. Neglecting small tasks — like checking soil moisture or cleaning leaves — can lead to long-term problems such as yellow leaves, mold, or even pest infestations.
A short weekly routine helps you:
Spot early signs of stress before damage spreads
Maintain proper watering and humidity balance
Keep leaves clean for better photosynthesis
Prevent soil compacting or fungus buildup
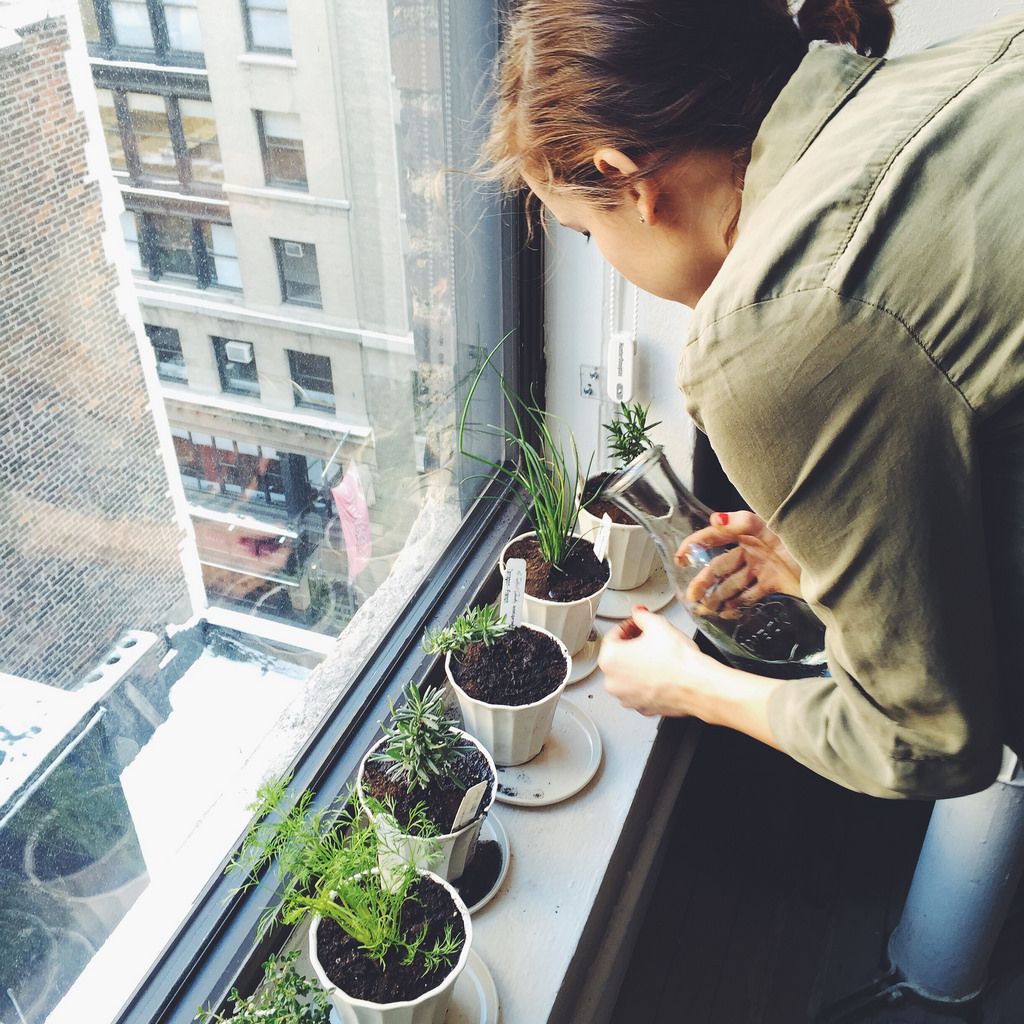
Step 1: Check Soil Moisture and Drainage
Start each week by feeling the soil about 2–3 cm deep. If it feels dry, water; if it’s damp, wait. Overwatering is the most common plant-care mistake.
Tips for success:
Use a moisture meter to know exactly when to water.
Always empty saucers so roots don’t sit in stagnant water.
For plants that prefer drier soil (succulents, snake plants), extend watering intervals.
Healthy soil should feel lightly moist — never soggy.
You can find reliable digital moisture meters on Amazon that help you stay consistent without guessing.
Step 2: Inspect for Pests and Leaf Damage
Take a minute to look under leaves and along stems. Tiny pests such as spider mites, aphids, or fungus gnats can spread quickly if unnoticed.
What to look for:
Sticky residue on leaves
Small white dots or webbing
Yellowing or curling foliage
If you find pests, isolate the plant and treat with neem oil spray or insecticidal soap. These natural solutions are safe for most indoor plants and widely available on Amazon.
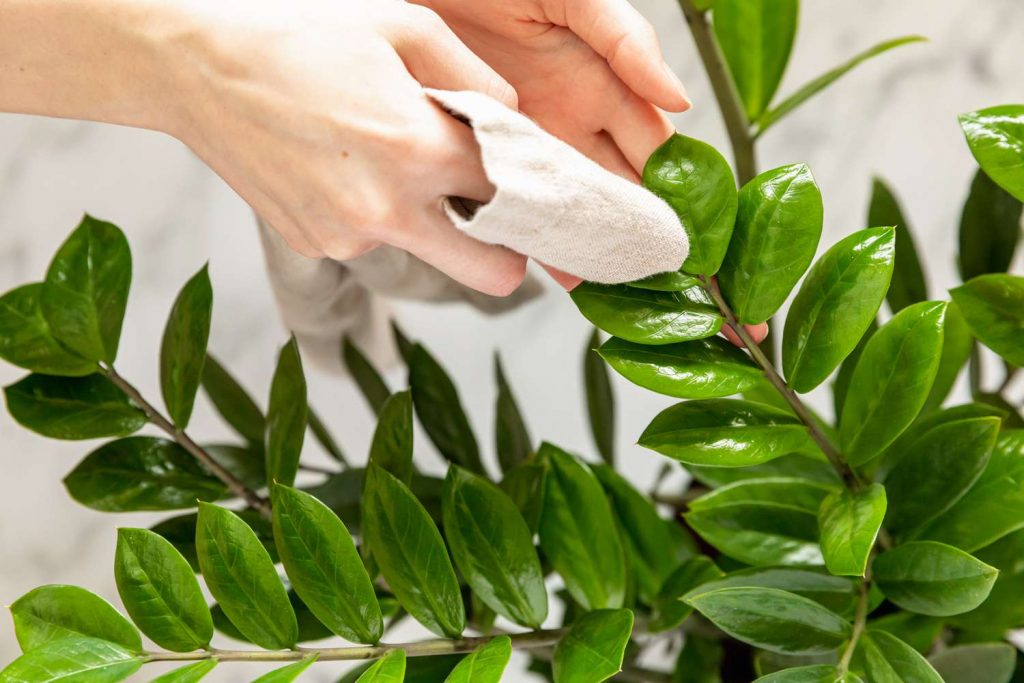
Step 3: Dust and Clean the Leaves
Dust blocks sunlight and slows growth. Use a damp microfiber cloth or soft brush to wipe both sides of each leaf gently.
For plants with delicate leaves: mist lightly and use a makeup brush or soft cloth.
For larger plants: a quick shower rinse works great — just let excess water drain afterward.
Keeping leaves clean also helps you spot early signs of pests or nutrient issues.
Step 4: Rotate Plants Toward the Light
Plants naturally grow toward their light source. Turning pots about a quarter turn each week keeps growth balanced and prevents leaning.
It’s a quick step but makes a big visual difference — your plants will develop even shapes and stronger stems.
If your home has low light, consider LED grow lights with timers from Amazon to keep light levels consistent all week.
Step 5: Remove Dead Leaves and Old Blooms
Trimming yellow or dried leaves improves airflow and helps the plant focus on new growth. Always use clean, sharp pruning shears to avoid spreading bacteria.
Remove old flowers on blooming plants — this encourages more buds and keeps the plant tidy.
Dispose of all trimmings outside to prevent fungus or pests from re-entering your indoor space.
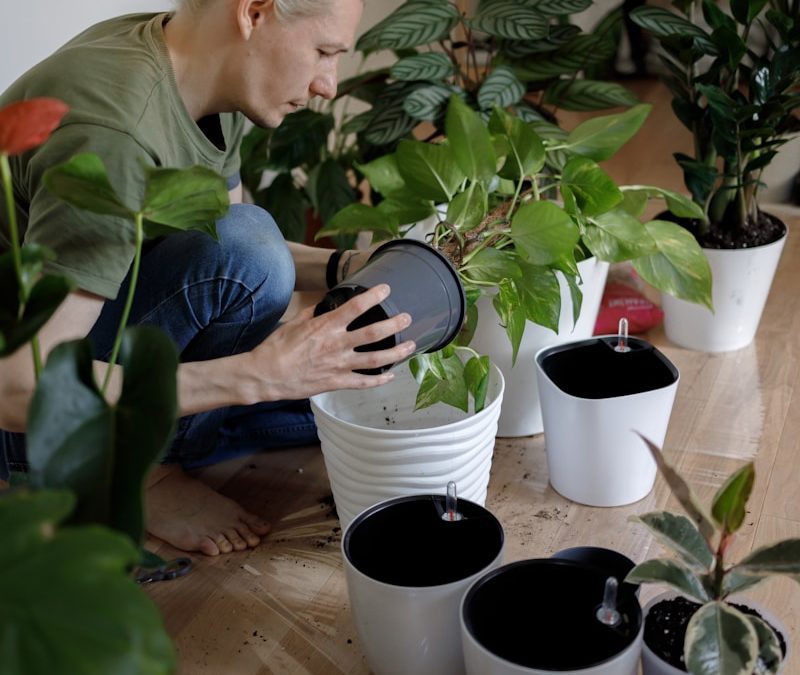
Step 6: Refresh Soil Surface and Check Pot Condition
Loosen the top inch of soil with your fingers or a small fork. This prevents compaction and improves oxygen flow to roots.
Check the pot for salt buildup or algae around the edges — signs it might be time for cleaning or repotting.
If you notice water draining slowly, consider adding a bit of perlite to your next mix to boost aeration.
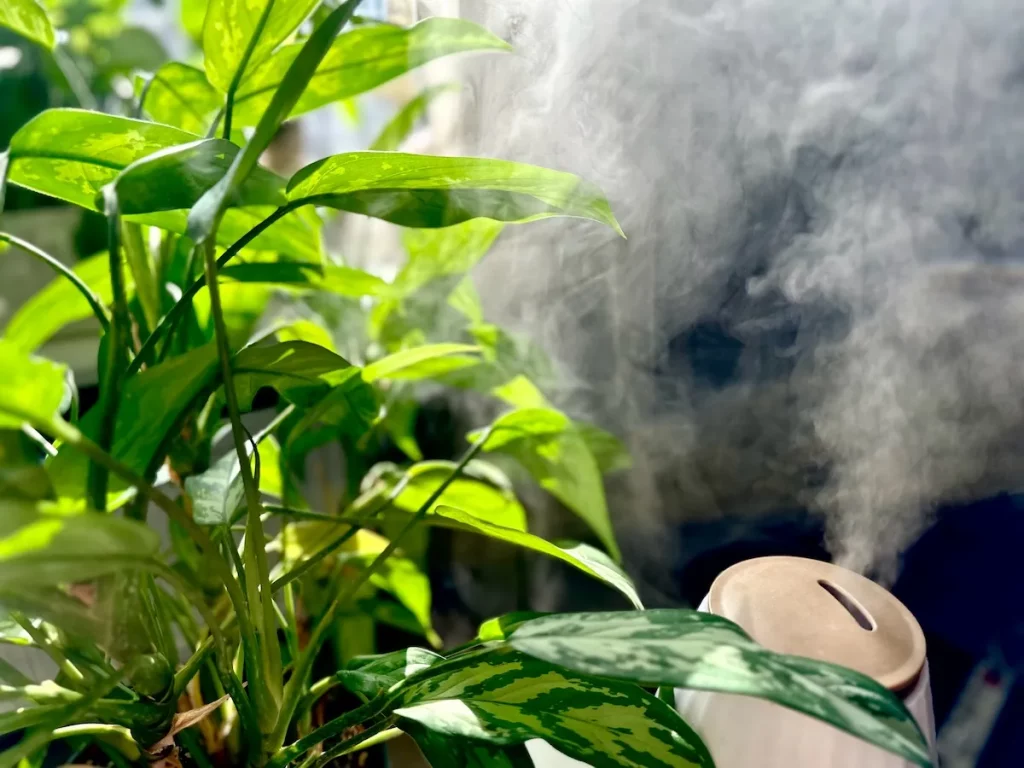
Step 7: Adjust Humidity and Airflow
Dry indoor air — especially in winter — stresses tropical plants.
Increase humidity by:
Grouping plants together
Using a humidifier or pebble tray
Misting occasionally in the morning
At the same time, keep gentle air movement to prevent mold. A small circulating fan on low speed can make a big difference.
Step 8: Track Growth and Health
Keep a simple notebook or digital log where you record watering dates, new growth, and any issues.
Tracking patterns helps you spot trends — like which plants dry out faster or need extra light.
It also turns plant care into a relaxing weekly ritual rather than a chore.
Helpful Tools for Weekly Maintenance
These simple tools make your weekly routine easier:
Moisture meter – accurate soil readings
Microfiber cloth – gentle leaf cleaning
Pruning shears – clean cuts for better growth
Humidifier – keeps tropicals thriving
Eco pot brush – removes residue during repotting
All of these are available on Amazon and can save you time while keeping your plants in perfect condition.
Related Articles
- How to Improve Indoor Plant Drainage
- How to Keep Indoor Plants Alive During Winter
- Prevent Mold and Fungus in Indoor Soil
Keep Your Plants Thriving All Week
A consistent routine is the secret to healthy indoor plants. By checking moisture, cleaning leaves, and trimming old growth weekly, you’ll prevent most common problems before they start.
For more expert advice on long-term care, see The Spruce’s guide to houseplant maintenance.
Fix Indoor Plant Issues Fast
KEEP YOUR PLANTS HEALTHY
Discover quick, effective fixes for yellow leaves, overwatering, and root rot with easy weekly care steps.