
If you want to grow indoor ginger, you don’t need a greenhouse — you just need warmth, patience, and a pot that drains well. Ginger grows slowly, but it’s one of the most satisfying “set it up once, harvest later” indoor crops.
You can also read Grow Plants Without Soil.
Quick answer: grow indoor ginger successfully
Use a wide pot with drainage holes (ginger spreads sideways)
Plant a fresh rhizome with visible “eyes” facing up
Keep warm (aim for 20–28°C) and lightly moist, not wet
Bright light helps, but avoid scorching midday sun
Harvest young ginger from 4–6 months, mature ginger from 8–10+ months
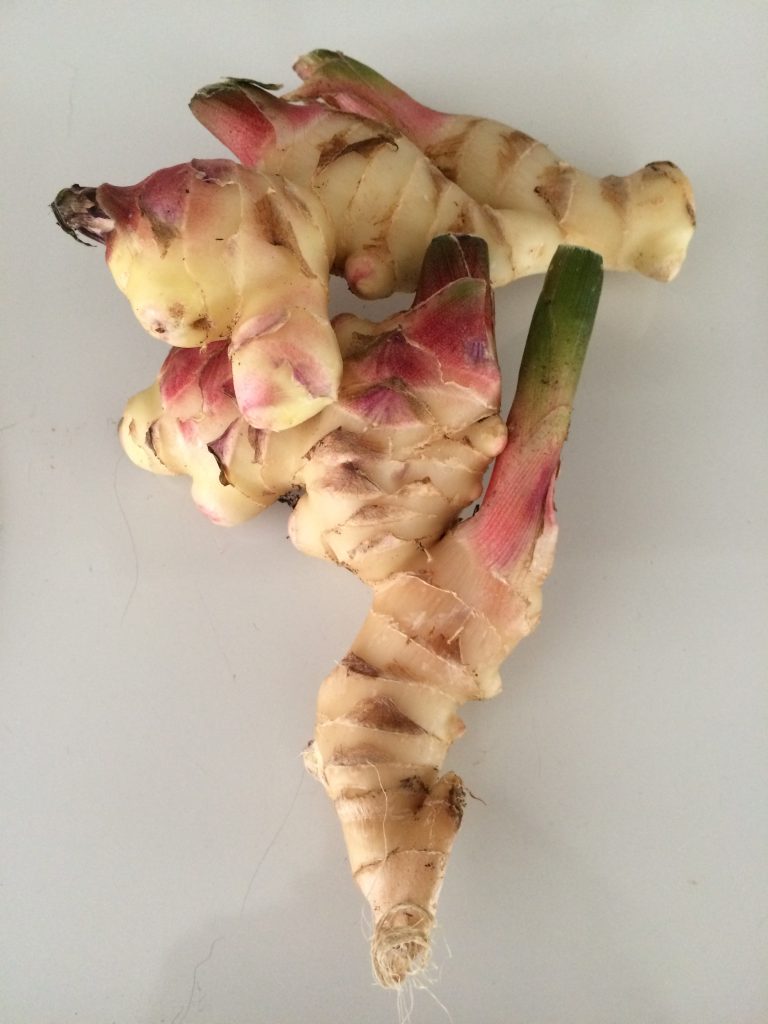
Do this first: Buy a plump piece of ginger with at least 2–3 “eyes”, then let it sit somewhere warm and dry for 1–2 days before planting so any cut edges don’t rot.
Contents
- 0.1 Grow Indoor Ginger: What You Need Before You Start
- 0.2 Choosing Ginger: Supermarket vs Seed Ginger
- 0.3 Best Pot and Soil Mix for Indoor Ginger
- 0.4 How to Plant Ginger Indoors Step by Step
- 0.5 Light and Placement
- 0.6 Watering: The Biggest Mistake to Avoid
- 0.7 Long-Tail Fix 1: How Long Does Ginger Take to Sprout Indoors?
- 0.8 Long-Tail Fix 2: Why Isn’t My Ginger Sprouting?
- 0.9 Long-Tail Fix 3: Ginger Leaves Turning Yellow
- 0.10 When to Harvest Indoor Ginger
- 0.11 FAQs About Growing Indoor Ginger
- 0.12 Final Thoughts on Grow Indoor Ginger
- 0.13 Related Articles
- 1 Get Better Results From Every Pot
Grow Indoor Ginger: What You Need Before You Start
Growing ginger indoors is easier when you set it up like a long-term houseplant rather than a quick veg crop. The main needs are warmth, drainage, and consistent light.
You’ll need:
a wide pot (not too deep) with drainage holes
free-draining compost (not heavy, muddy soil)
a warm spot indoors
time (ginger is slow but steady)
If you’re growing in a darker UK room, light becomes the limiting factor.
Choosing Ginger: Supermarket vs Seed Ginger
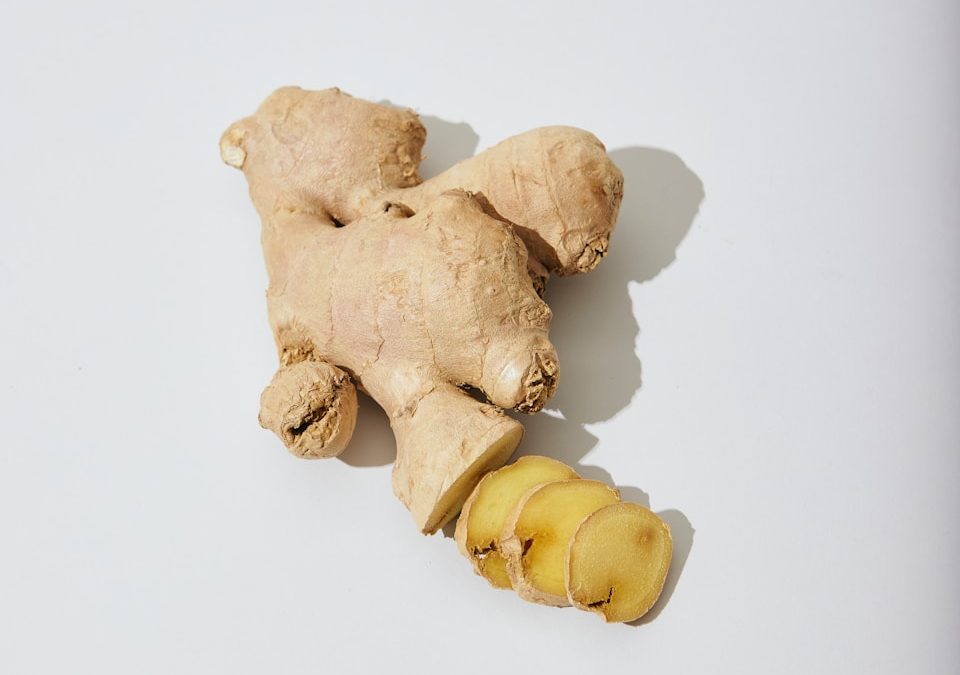
Most people start with supermarket ginger and it can work well. The key is choosing the right piece.
Look for:
firm, plump rhizomes (not shrivelled)
multiple eyes (tiny bumps that will sprout)
no mouldy soft patches
Avoid:
very dry, wrinkled ginger
pieces with a strong chemical smell
mushy sections (they rot fast)
Tip: If your ginger has a cut end, let it air-dry for a day so it can callus slightly before planting.
Best Pot and Soil Mix for Indoor Ginger
Ginger grows horizontally, so width matters more than depth. A wide pot gives you more sprouts and a better eventual harvest.
A wide shallow plant pot with drainage holes is ideal for ginger because it gives the rhizomes space to spread without the compost staying soggy for days.
For compost, aim for “moisture-retentive but free-draining”:
standard multi-purpose compost
plus extra drainage material if it feels dense
If your potting mix stays wet for ages, you’ll get slow growth and rot risk. In that case, you can also read Improve Indoor Plant Drainage.
How to Plant Ginger Indoors Step by Step
This is the simple method that works for most homes.
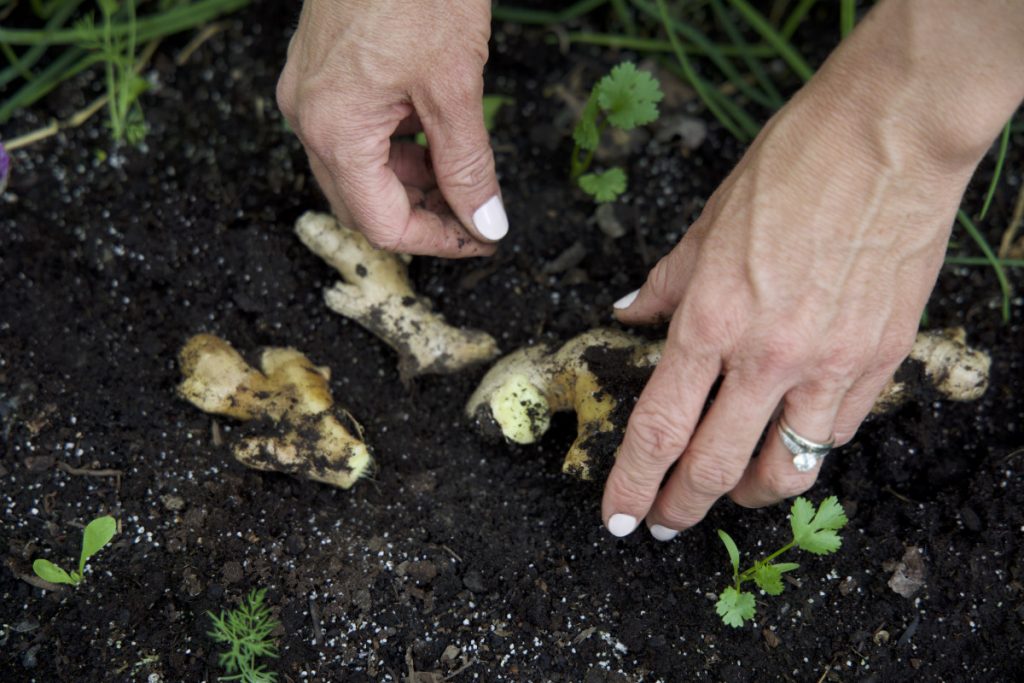
1) Prepare the rhizome
If it’s a large piece, you can cut it into sections, but make sure each section has at least one or two eyes. Let cut pieces dry for 24–48 hours before planting.
2) Plant shallow, eyes up
Place the rhizome horizontally with the eyes facing upward. Cover with a light layer of compost (don’t bury it too deep).
3) Water lightly
Water just enough to settle the compost. After that, keep it lightly moist, not wet. Ginger rhizomes can rot if they sit in soggy compost early on.
4) Keep it warm
Warmth is what triggers sprouting. A bright, warm room works, but ginger does best when the compost stays consistently warm.
If your home runs cool, a seedling heat mat for indoor growing can speed up sprouting and reduce the “nothing is happening” phase.
Light and Placement
Ginger is a tropical plant — it likes bright conditions but not harsh scorching sun through glass.
Best placement:
bright windowsill with filtered light
conservatory/sunroom that stays warm
under a grow light if your daylight is weak
If you want an easy lighting baseline for indoor crops, you can also read Best Lights for Indoor Gardening.
Watering: The Biggest Mistake to Avoid
Most indoor ginger problems come down to watering. Ginger likes consistent moisture, but it hates sitting in wet compost.
A good routine:
water when the top couple of centimetres feels dry
always let excess water drain
empty saucers after 10–15 minutes
If you tend to “top up” little and often, you can end up with permanently damp compost — the perfect conditions for slow rot.
Long-Tail Fix 1: How Long Does Ginger Take to Sprout Indoors?
Ginger is slow at the start. In many homes it can take several weeks before you see the first shoots.
To speed it up:
keep it warmer
water lightly (overwatering slows sprouting)
use a heat mat if your home is cool
be patient — the plant is building roots first
Long-Tail Fix 2: Why Isn’t My Ginger Sprouting?
If nothing has happened after 6–8 weeks, it’s usually one of these:
Quick checks:
rhizome was too old/dry (eyes never activate)
compost is staying too wet (rhizome softens)
temperature is too cool
it’s buried too deep
Fast fix:
gently dig and check firmness
if it’s firm, replant shallower and increase warmth
if it’s soft/mushy, discard and restart with a fresher piece
Long-Tail Fix 3: Ginger Leaves Turning Yellow
A little yellowing can happen if:
light is too low
watering is inconsistent
the plant is entering dormancy (especially as temperatures drop)
What to do:
move to brighter indirect light
reduce watering slightly (don’t keep wet compost in cold months)
check the pot drains freely
If your soil is old and heavy, it may be worth refreshing it. You can also read Reuse Potting Soil.
When to Harvest Indoor Ginger
This is the fun part — and you have two options.
Harvest young ginger (4–6 months)
Young ginger is milder, juicy, and easy to slice. You can “steal” a bit from the edge of the pot without lifting the whole plant.
Harvest mature ginger (8–10+ months)
Mature ginger is hotter and more fibrous. Growth usually slows when conditions cool and the plant may start to yellow and die back.
Harvest tip:
tip the pot out gently
brush off compost
break off what you need
replant a few healthy sections to keep the cycle going
Mid–lower article trust line (place it near harvesting or planting depth):
According to University of Vermont Extension guidance on growing ginger and turmeric indoors, ginger rhizomes should be planted with eyes facing up and watered sparingly until sprouts appear to reduce rot risk.
FAQs About Growing Indoor Ginger
Can I grow indoor ginger all year in the UK?
Yes, but growth slows in cooler, darker months. Warmth and light are what keep it moving.
Does ginger need full sun?
No. Bright light is great, but harsh midday sun through glass can stress it. Aim for bright, indirect light.
Should I feed ginger indoors?
You can, once it’s actively growing. If growth is slow, fix warmth/light first before adding feed.
Can I grow ginger in a small pot?
You can, but the harvest will be smaller. Ginger spreads sideways, so wider pots usually give better results.
Final Thoughts on Grow Indoor Ginger
If you want to grow indoor ginger successfully, focus on the three things that matter most: warmth, drainage, and patience. Start with a fresh rhizome, keep watering light until it sprouts, and give it steady light so it can build leafy growth and a bigger harvest.
Once you’ve done it once, it becomes a repeatable cycle: plant a piece, grow it on, harvest, then replant the best sections.
Related Articles
MAKE INDOOR GROWING MORE RELIABLE
Get Better Results From Every Pot
Indoor ginger is all about consistent basics — free-draining compost, steady warmth, and a simple routine you actually stick to. A few practical tools and habits make indoor crops easier to manage and far more predictable.