
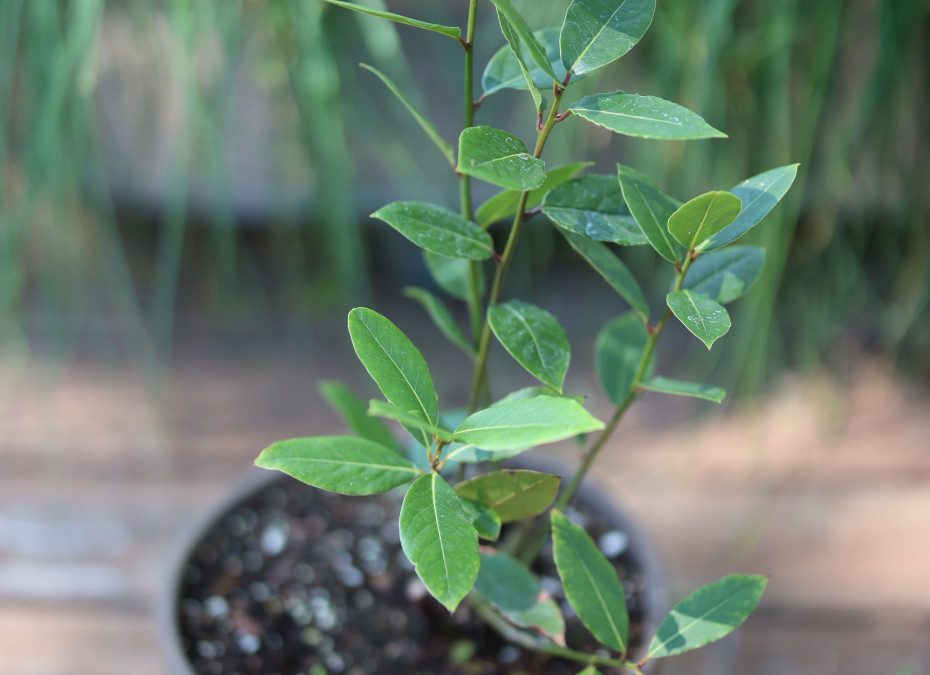
Growing bay laurel indoors is totally doable if you get three things right: strong light, steady watering, and a pot that drains properly. Bay is forgiving once it’s settled, but it hates sitting in wet compost.
If you’re already growing indoor fruit trees, you’ll notice bay has a similar “container routine” to citrus — dwarf lemon trees.
Quick answer: how to grow bay laurel indoors
Put bay in your brightest window (south-facing is best)
Water only when the top 3–5 cm is dry, then drain the saucer
Use a free-draining mix and a pot with proper drainage holes
Rotate weekly for even growth and avoid leggy, one-sided plants
Prune lightly to keep it compact and encourage fresh leaf growth
Do this first: move your bay to the brightest spot you have and check the pot drains freely (no standing water in the tray after 10 minutes).
Contents
- 0.1 What bay laurel needs indoors
- 0.2 Light and temperature for indoor bay trees
- 0.3 The best pot and compost for bay laurel indoors
- 0.4 How to water bay laurel indoors without root rot
- 0.5 Feeding and pruning indoor bay trees
- 0.6 Harvesting bay leaves indoors
- 0.7 Common indoor bay laurel problems
- 0.8 FAQs
- 0.9 Final Thoughts on Growing Bay Laurel Indoors
- 0.10 Related Articles
- 1 Indoor Garden Care – Definitive Guide
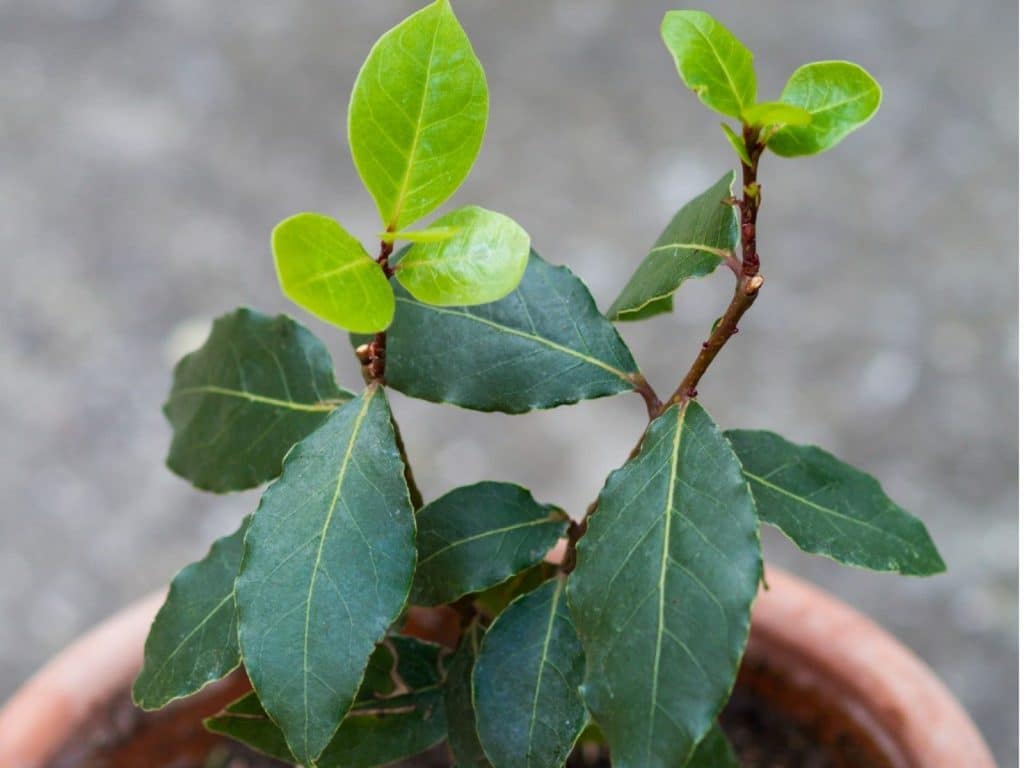
What bay laurel needs indoors
Bay laurel (Laurus nobilis) is a Mediterranean evergreen, so indoors it wants sunlight, airflow, and “dry-ish” roots rather than constant moisture.
A healthy indoor setup usually means:
Bright light for most of the day
A pot that breathes (terracotta is great)
Light, careful watering (more in summer, less in winter)
Is bay laurel the same as “bay leaves” from the shop?
If your plant is Laurus nobilis, yes — that’s the classic culinary bay. Some ornamental “bay” plants aren’t the same, so it’s worth checking the label when you buy.
Can you grow bay from supermarket bay leaves?
Not reliably. Dried bay leaves are usually too old to root well. It’s faster to start with a small bay plant and grow it on.
Light and temperature for indoor bay trees
Indoors, bay struggles most from low light, especially in UK winter. If it’s not getting enough light, it’ll go leggy, drop older leaves, and produce weaker, pale new growth.
Good rules to follow:
Aim for 6+ hours of bright light daily
Keep it away from cold draughts and radiators
Turn the pot weekly so it grows evenly
If your home is dim, a grow light can make the difference between “survives” and “thrives”. A simple option is a full-spectrum LED grow light.
Long-tail quick fix: bay going leggy indoors
Leggy growth almost always means light is too weak or too far away. Move it closer to the window, rotate weekly, and prune lightly once it’s growing again.
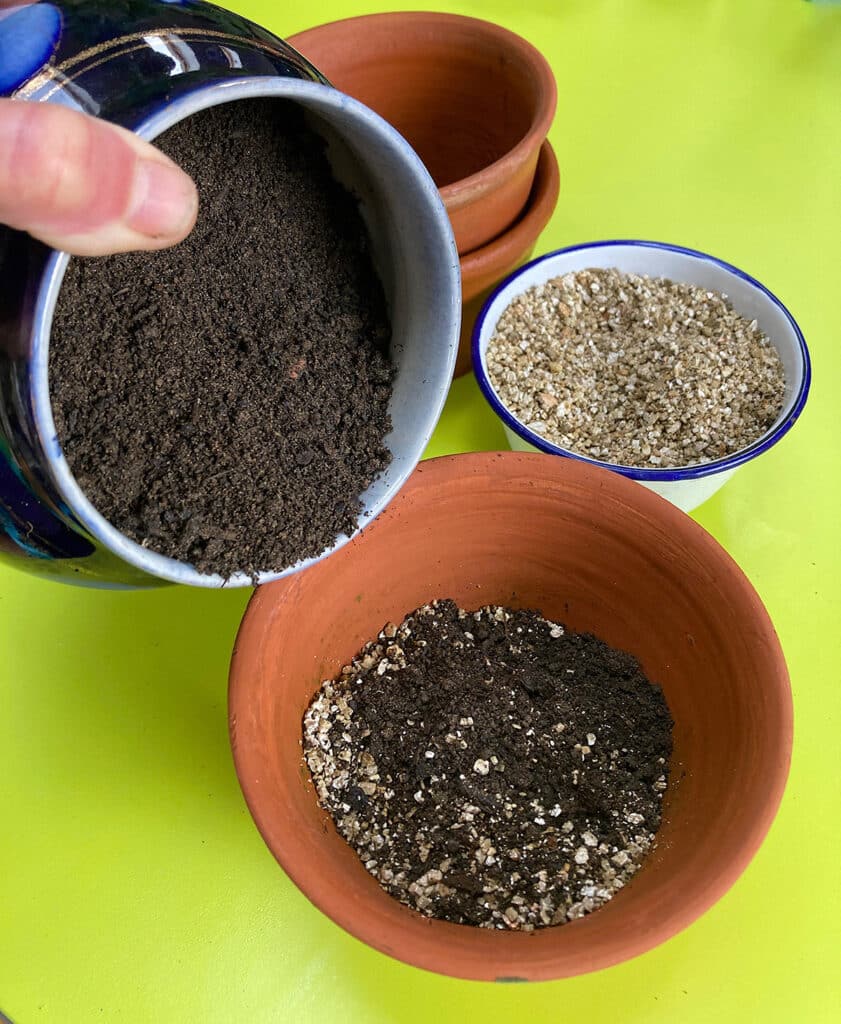
The best pot and compost for bay laurel indoors
Bay laurel is happiest when its roots can breathe. The biggest indoor mistake is using a heavy, soggy compost that stays wet for ages.
A solid indoor potting setup:
Pot with drainage holes (non-negotiable)
A free-draining mix (multi-purpose plus extra perlite/grit works)
A saucer or tray — but never leave water sitting in it
Terracotta helps because it naturally evaporates moisture through the sides, which reduces “wet feet” issues. If you want an easy indoor option, use a terracotta plant pot with drainage hole.
Long-tail quick fix: bay in a pot that’s too big
If the pot is oversized, the compost stays wet too long and roots struggle. Repot into something only a few centimetres wider than the root ball.
How to water bay laurel indoors without root rot
Bay likes a wet–dry cycle, not constant moisture. Indoors, it’s safer to water less often but more thoroughly.
A simple watering routine:
Check the top 3–5 cm of compost
If it’s dry, water until it runs out the bottom
Empty the saucer after 10 minutes
In winter, bay often needs much less water because growth slows and light drops.
A useful reminder: the RHS notes that containers do best when you keep up with basic maintenance like drainage and watering routines RHS container gardening maintenance advice.
Long-tail quick fix: bay leaves turning brown at the edges
This is usually dry air + inconsistent watering (or too much heat from a radiator). Move it slightly back from the heat source, water more evenly, and don’t let the root ball fully bake dry for weeks.
Feeding and pruning indoor bay trees
Bay doesn’t need heavy feeding indoors. Too much fertiliser can cause soft, weak growth that attracts pests.
A simple approach:
Feed lightly in spring/summer only
Skip feeding in winter
Focus on light + watering first
Pruning is what keeps bay compact indoors:
Pinch tips to encourage bushy growth
Remove crossing stems to improve airflow
Trim little and often rather than hard cutting
If you’re choosing tools, this guide pairs well with Best Pruning Shears for Indoor Plants.
Long-tail quick fix: bay not growing much indoors
This is usually low light or winter slow-down. Don’t panic — fix light first, wait for spring, then prune lightly to trigger new shoots.
Harvesting bay leaves indoors
Bay leaves are best picked once the plant is established and producing steady new growth.
Harvesting tips:
Pick mature leaves (firm, deep green)
Don’t strip the plant — take a few leaves at a time
For stronger flavour, dry leaves for a week in a warm, airy spot
Common indoor bay laurel problems
Indoor bay is pretty hardy, but a few issues show up again and again.
Sticky leaves or small bumps on stems
This can be scale insects. Wipe leaves, isolate the plant, and treat early. Reading the Indoor Plant Pest Guide can help you identify what you’re seeing.
Leaves dropping suddenly
Often caused by a quick change: cold draught, overwatering, or moving it from bright light to shade. Put it back in stable light and reduce watering while it recovers.
Yellowing leaves
Usually too much water or compost staying wet too long. Let it dry slightly, improve airflow, and check drainage.
FAQs
Can bay laurel live indoors all year?
Yes, as long as it gets enough light and you avoid overwatering. Many people move it outdoors in summer and bring it in for winter.
Does bay laurel need full sun indoors?
It needs the brightest spot you can give it. Full sun through a window is ideal, but bright indirect light may be enough if growth stays healthy.
Should I mist bay laurel?
Usually not necessary. It’s better to keep watering consistent and improve airflow than to add extra moisture on leaves.
How often should I repot bay laurel?
Every 2–3 years is common, or when roots start circling tightly. Move up only slightly in pot size.
Final Thoughts on Growing Bay Laurel Indoors
Bay laurel is one of the easiest “edible indoor trees” once you treat it like a Mediterranean container plant: bright light, free-draining compost, and careful watering. Get the pot and light right and bay becomes a low-drama, long-term plant that keeps giving you fresh leaves for years.
Related Articles
GIVE YOUR WHOLE INDOOR GARDEN A GLOW-UP
Indoor Garden Care – Definitive Guide
Learn how to water, feed, position, and maintain all your houseplants so your new plant stands don’t just look good – they help your plants thrive long term.