If you’re short on outdoor space but hate throwing away peelings and coffee grounds, indoor composting is a brilliant way to cut waste and feed your plants at the same time. With the right container and method, you can compost in a flat, small house, or even a single room without bad smells or mess.
In this indoor composting guide, you’ll learn the best methods for small spaces, how to keep things odour-free, and how to use finished compost for houseplants and containers. If you’re planning to refresh tired soil afterwards, you might also like How to Reuse Potting Soil Safely for Indoor Plants.
Contents
- 0.1 What Is Indoor Composting?
- 0.2 Best Indoor Composting Methods for Small Spaces
- 0.3 Setting Up Your Indoor Composting System
- 0.4 How to Use Indoor Compost for Houseplants and Containers
- 0.5 Troubleshooting Indoor Composting Problems
- 0.6 FAQs About Indoor Composting
- 0.7 Related Articles
- 0.8 Final Thoughts on Indoor Composting
- 1 Using Indoor Compost for Healthier Houseplants
What Is Indoor Composting?
Indoor composting is simply composting on a smaller, more controlled scale so you can do it inside – in a kitchen, utility room, cupboard, or balcony corner – without creating a mess or attracting pests.
Instead of a big outdoor heap, you use a compact system that:
Holds food scraps neatly
Keeps odours under control
Breaks materials down into a soil-like mix or liquid feed
Fits into your normal indoor routine
Most indoor composting focuses on kitchen scraps (veg peelings, coffee grounds, tea, eggshells) plus small amounts of paper or cardboard. Meat, fish and large amounts of cooked food are usually avoided, unless you’re using a tightly sealed system like bokashi.

Best Indoor Composting Methods for Small Spaces
There’s no single “right” way to start indoor composting. The best method depends on your space, how much waste you produce, and how hands-on you want to be.
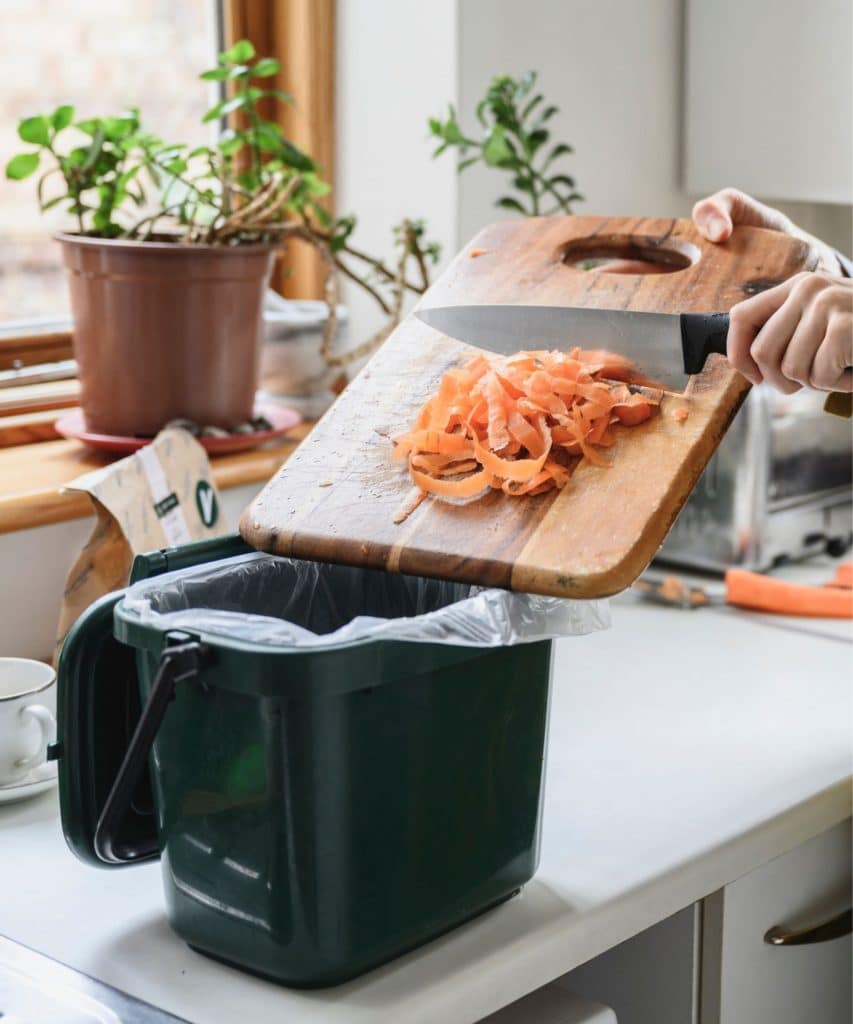
Kitchen Caddy + Outdoor or Collection
Even if you can’t do full composting indoors, a simple kitchen caddy helps you collect scraps cleanly for:
An outdoor compost bin (if you share a garden or have access to one)
A community compost, allotment or neighbour’s compost heap
Local food waste collection services
A kitchen compost caddy with charcoal filter keeps smells down and makes it easy to empty scraps where they’re needed without constantly walking outside.
Worm Bins (Vermicomposting)
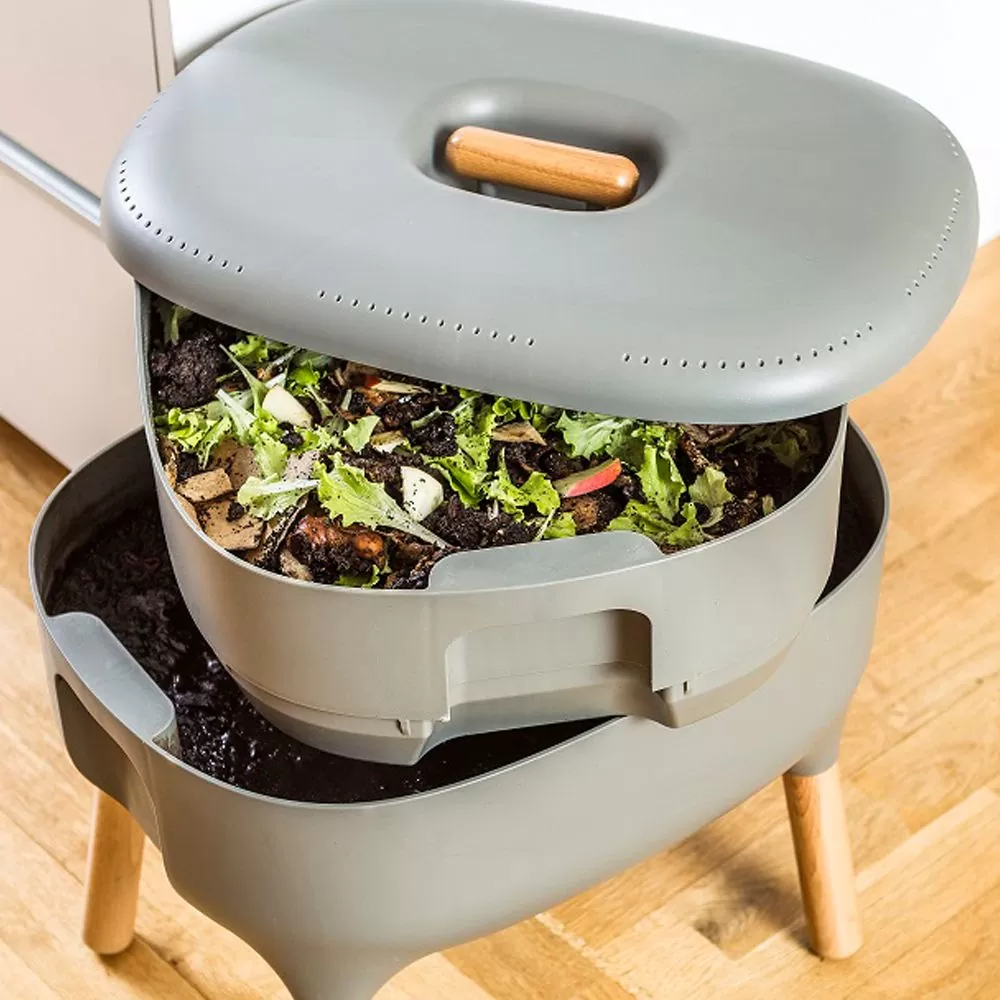
Worm bins are one of the most popular ways to do true indoor composting in small homes. Special composting worms (usually red wigglers) break down your kitchen scraps into rich worm castings that plants love.
Pros:
Produces high-quality, nutrient-rich compost
Can be kept in cupboards, hallways or utility rooms
Relatively low odour if managed correctly
Cons:
Worms don’t like big temperature swings or being overfed
You need to avoid very spicy, salty or oily food waste
Takes a little learning at the start
A compact indoor worm composting bin with stacking trays makes it easier to manage food levels and harvest finished compost without disturbing the whole system.
Bokashi Bins
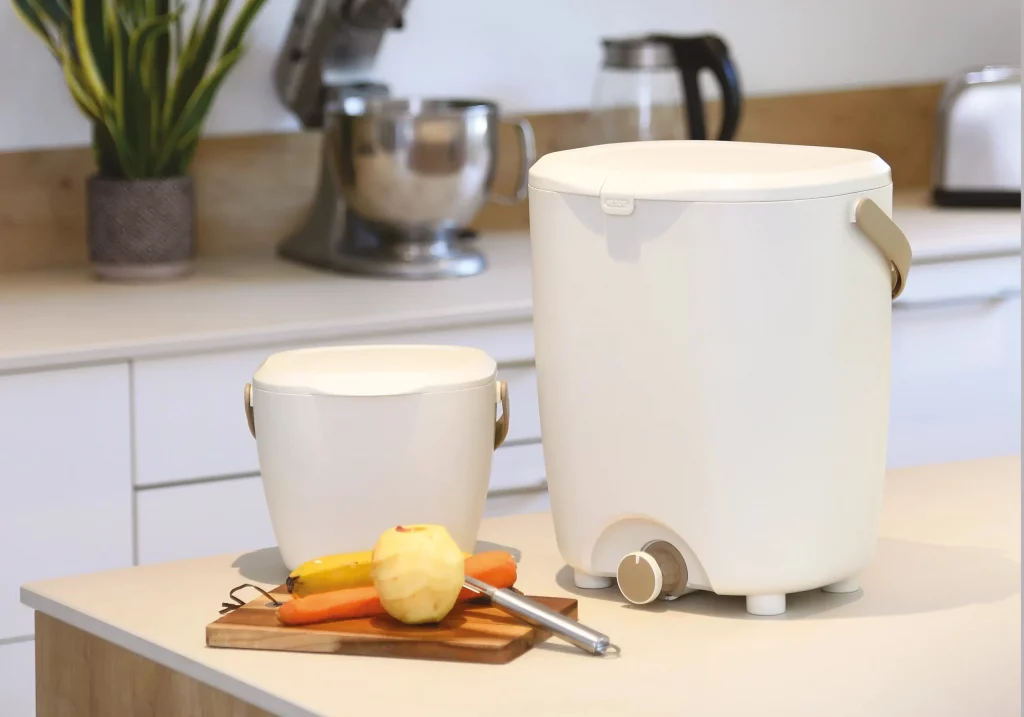
Bokashi is a fermentation-based method where you layer food scraps with a special bran inoculated with beneficial microbes.
Works well for almost all food types, including small amounts of meat and cooked leftovers
Sealed bins keep smells very low when used correctly
Produces a fermented pre-compost and a liquid that can be diluted and used as fertiliser
You usually follow up bokashi by:
Burying the fermented material in a planter or raised bed
Adding it to a worm bin or outdoor heap to finish breaking down
A bokashi compost bin starter kit is a straightforward way to get everything you need – bucket, tap, and bran – to start fermenting kitchen scraps indoors.

Setting Up Your Indoor Composting System
Whatever method you choose, a few basic principles keep things clean, efficient and beginner-friendly.
Choose a Good Location
Look for a spot that is:
Easy to access while you cook (to encourage you to use it)
Out of direct sun so it doesn’t overheat
Away from radiators or very cold draughts
On a washable surface or mat in case of spills
Balance Greens and Browns
Indoor composting still relies on the same basic balance as outdoor composting:
Greens: Fresh scraps like veg peelings, coffee grounds, tea bags, fruit waste
Browns: Shredded cardboard, paper, dry leaves, paper egg boxes
A good rule of thumb is to add a small handful of browns each time you add a batch of greens. This helps:
Absorb moisture
Reduce smells
Keep materials fluffy so air can move through them
Resources like Royal Horticultural Society advice on home composting can help you fine-tune ratios of greens and browns and troubleshoot any tricky issues.
Keep It Airy (When Needed)
Traditional composting and worm bins both need some air:
Gently fluff or stir the top layer now and then (unless it’s a sealed bokashi bin)
Avoid packing waste down tightly
Don’t let the container become a wet, compacted lump
How to Use Indoor Compost for Houseplants and Containers
Once your system has been running for a while, you’ll start to get finished compost or worm castings. This should look dark, crumbly and earthy, with no obvious chunks of fresh food left.
Mixing Compost into Potting Soil
For houseplants and containers:
Mix up to 25–30% compost with fresh potting mix for hungry plants
Use a lighter ratio (10–20%) for more sensitive species
Avoid using pure compost on its own – it’s too rich and may compact
Top Dressing Pots
You can also use compost as a top dressing:
Spread a 1–2cm layer on the surface of the compost in pots
Gently work it into the top layer with your fingers or a small fork
Water as normal so nutrients wash down into the root zone
Liquid Feed from Worm Bins or Bokashi
Many worm bins and bokashi systems produce a liquid that can be used as fertiliser:
Always dilute according to the instructions (it’s very concentrated)
Apply to moist soil, not bone-dry pots
Use occasionally during the growing season rather than every single watering
Troubleshooting Indoor Composting Problems
Even well-run systems sometimes hit a bump. Here are some common issues and simple fixes.
It Smells Bad
Bad smells usually mean too many wet “greens” and not enough dry “browns”, or not enough air.
Add extra shredded cardboard or paper
Stir gently (for worm bins and open systems)
Check for puddles or standing liquid and drain if needed
Fruit Flies and Gnats
Always cover fresh food scraps with a layer of browns or finished compost
Keep lids closed properly
Wipe rims and edges so residue doesn’t attract flies
Mould on the Surface
A light white or fluffy mould on browns is often normal. Heavy, slimy mould with a strong smell means things are too wet.
Add extra dry material
Ease off on very wet scraps for a while
Stir gently to introduce more air
It’s Not Breaking Down
If materials just seem to sit there:
Check it’s warm enough – very cold rooms slow composting
Chop scraps smaller before adding
Make sure there’s enough moisture (slightly damp like a wrung-out sponge)
FAQs About Indoor Composting
Does indoor composting smell?
A well-managed indoor compost system should smell earthy, not rotten. If you notice strong odours, it usually means there’s too much wet food waste and not enough dry material or air. Adjusting the balance and giving things a gentle stir usually solves it.
Can I compost meat and dairy indoors?
Most basic systems (like worm bins) work best with plant-based scraps only. Bokashi bins can handle small amounts of meat and dairy, but you still need to follow the method carefully and let the fermented material finish breaking down in soil or another compost system afterwards.
How long does indoor composting take?
It varies by method and conditions. Worm bins can produce usable compost in a few months once established. Bokashi fermentation takes a couple of weeks per bucket, followed by soil integration. Kitchen caddies are just collection points and don’t do full composting on their own.
Is indoor composting safe in a flat?
Yes, as long as containers are well maintained, lids are secure and you manage moisture and airflow sensibly. Many people keep worm bins or bokashi buckets in kitchens, utility rooms or cupboards without issues.
Can I use indoor compost on all houseplants?
Most houseplants enjoy a small amount of compost mixed into their potting soil or added as a top dressing, but avoid overdoing it on very low-feed plants or those sensitive to rich soil. When in doubt, start with a weaker mix and see how your plant responds.
Related Articles
Final Thoughts on Indoor Composting
Indoor composting is one of those habits that feels a bit intimidating at first, then quickly becomes second nature. Once your system is set up and you understand the basics of greens, browns, moisture and air, you’ll wonder why you ever threw all that goodness away.
Whether you choose a simple kitchen caddy, a worm bin or a bokashi setup, you’ll be turning everyday scraps into something genuinely useful for your houseplants and containers. Over time, that means richer soil, stronger plants and less waste leaving your home.
TURN KITCHEN SCRAPS INTO PLANT POWER
Using Indoor Compost for Healthier Houseplants
Use your home-made compost where it counts most – mixing small amounts into fresh potting soil, top dressing tired pots and boosting hungry containers through the growing season. With a few simple tweaks to your repotting and feeding routine, you can stretch each batch of compost further and keep your indoor plants thriving longer.

