Contents
- 1 How to Refresh Old Potting Mix Without Replacing It (Save Money & Grow Stronger Plants)
- 1.1 Why You Should Refresh Old Potting Mix
- 1.2 Signs Your Potting Mix Needs Refreshing
- 1.3 Step-by-Step: How to Refresh Old Potting Mix
- 1.4 When to Refresh vs. Replace
- 1.5 How Often to Refresh Potting Mix
- 1.6 Extra Tips to Keep Potting Mix Healthy Longer
- 1.7 Preventing Future Soil Problems
- 1.8 Eco-Friendly Ways to Dispose of Bad Soil
- 1.9 Product Recommendations
- 1.10 Related Articles
- 1.11 Final Thoughts on Refreshing Old Potting Mix
- 2 Why Indoor Plants Turn Yellow (Causes & Fast Fixes)
How to Refresh Old Potting Mix Without Replacing It (Save Money & Grow Stronger Plants)
Tired of spending money on new soil every season? You don’t always have to replace old potting mix. Most indoor plant soil can be refreshed, revived, and reused — saving you time, money, and effort while giving your plants a strong new start.
In this guide, you’ll learn how to refresh old potting mix without replacing it, what materials to add for nutrients and structure, and how to keep your soil healthy for years.
Why You Should Refresh Old Potting Mix
Over time, potting soil becomes compacted, losing its ability to hold air, drain water, and provide nutrients. This leads to:
Slower plant growth
Yellowing leaves
Root rot from poor drainage
Nutrient deficiencies
Refreshing instead of replacing soil helps restore its balance, improving airflow, water movement, and nutrient content — key factors in strong plant growth.

Signs Your Potting Mix Needs Refreshing
You’ll know your mix is tired when:
The soil feels dense, heavy, or clumpy.
Water sits on top instead of soaking in.
Roots circle the pot or poke through drainage holes.
White salt crusts form on the soil surface.
Your plants grow slower despite regular care.
If you notice these signs, it’s time to revive your potting mix before it harms your plants.
Step-by-Step: How to Refresh Old Potting Mix
You don’t need to throw your old soil away — just give it a simple tune-up. Here’s how:
1. Remove the Top Layer
Start by removing 2–3 inches of soil from the top of your pot. This area often collects fertilizer salts and compacted debris.
2. Loosen the Remaining Soil
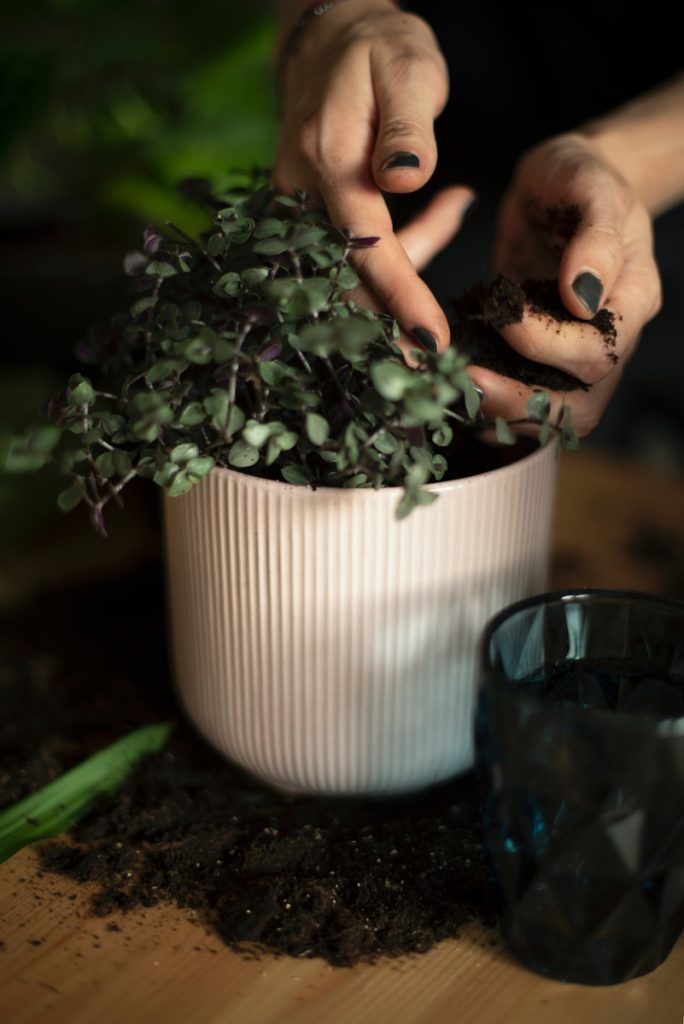
Use your fingers or a small hand fork to gently break up compacted areas. This increases air circulation in the potting mix, helping roots breathe again.
3. Mix in Fresh Additives
Add these key materials to restore structure and nutrients:
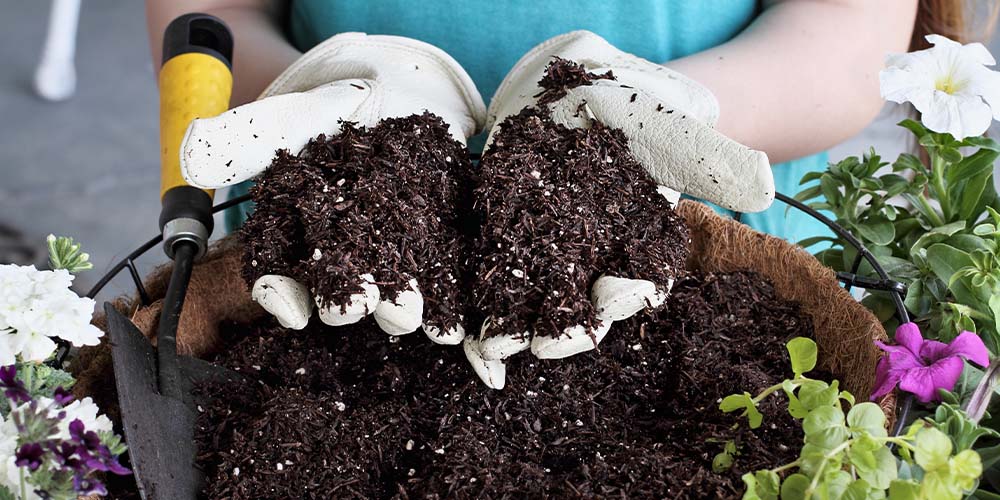
Compost – Adds organic matter and beneficial microbes.
Perlite or pumice – Improves drainage and prevents root rot.
Coconut coir or peat moss – Restores moisture retention.
Worm castings – Boosts slow-release nutrients naturally.
For best results, mix equal parts of old soil and your chosen additives in a large container before returning it to the pot.
You can find organic compost blends, perlite, and worm castings on Amazon — perfect for refreshing tired indoor soil naturally.
4. Check Drainage and Pot Condition
Clean the pot and ensure the drainage holes are clear. Stagnant water leads to mold, fungus, and foul odors — all signs of poor soil airflow.
5. Add a Thin Layer of Fresh Mix
Finish by topping your pot with 1–2 inches of new potting mix. This seals in moisture and gives roots access to nutrient-rich soil.
When to Refresh vs. Replace
Refreshing soil works best if it’s still in decent condition. You should replace it completely only when:
The soil smells sour or rotten (signs of anaerobic bacteria).
Fungus gnats or mold keep returning.
The mix has broken down into fine dust.
Otherwise, a refresh every 6–12 months keeps your plants healthy and your soil balanced.
How Often to Refresh Potting Mix
For most indoor plants, refresh the mix once a year, ideally in spring before new growth begins.
Heavy feeders like tomatoes or tropical plants may benefit from light refreshes every 4–6 months, especially if grown under strong grow lights.
Consistent soil care ensures strong roots, steady growth, and better resistance to pests and diseases.

Extra Tips to Keep Potting Mix Healthy Longer
- Use filtered or rainwater — tap water minerals build up over time.
- Avoid over-fertilizing — excess salts compact soil faster.
- Stir the soil occasionally to improve airflow and prevent crusting.
- Add organic matter regularly (like compost or leaf mold).
- Rotate your plants to avoid uneven drying or moisture buildup.
These small habits keep your refreshed mix productive for years without total replacement.
Preventing Future Soil Problems
Refreshing soil also helps prevent common indoor issues like:
Mold and mildew: Better aeration stops fungal growth.
Root rot: Improved drainage reduces stagnant moisture.
Pests: Healthier soil naturally deters fungus gnats and mealybugs.
If you struggle with recurring soil problems, see our article on Prevent Mold and Fungus in Indoor Soil for a deeper guide.
Eco-Friendly Ways to Dispose of Bad Soil
If part of your mix is beyond saving, don’t throw it in the bin. You can:
Add it to your outdoor compost pile — it’ll break down naturally.
Use it as a base layer for garden beds or pots with heavy drainage needs.
Mix it into new compost to boost microbial diversity.
This keeps waste low and nutrients cycling back into your growing system.
Product Recommendations
Refreshing soil is simple when you have the right materials:
Organic compost or worm castings – revitalizes old potting mix naturally.
Perlite or pumice – improves drainage and prevents soggy roots.
Coconut coir – keeps your mix airy and moisture-balanced.
You can find all of these affordable options on Amazon to keep your indoor garden thriving year-round.
Related Articles
- How to Improve Indoor Plant Drainage
- 5 Common Indoor Plant Problems
- Simple Indoor Plant Maintenance Routine
Final Thoughts on Refreshing Old Potting Mix
Learning how to refresh old potting mix without replacing it is one of the easiest and most cost-effective ways to keep your plants healthy.
By improving air circulation in your soil, restoring drainage, and adding organic nutrients, you’ll extend the life of your mix — and your plants will reward you with steady, vibrant growth.
Don’t toss your tired soil just yet — revive it, reuse it, and watch your indoor garden come back to life.
For more professional tips on potting mix structure, see The Spruce’s guide on revitalizing old soil.
RELATED PLANT CARE GUIDE
Why Indoor Plants Turn Yellow (Causes & Fast Fixes)
Discover what’s really behind yellowing leaves — and learn how to fix it fast before your plants start to decline.

