
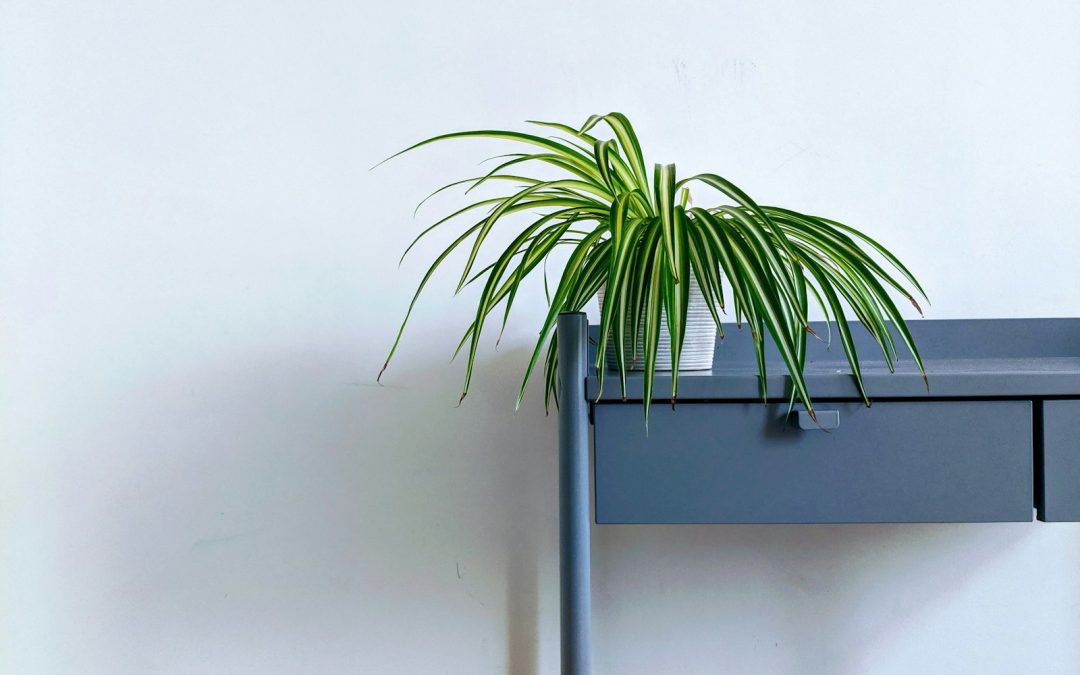
A spider plant is one of the easiest ways to make a room feel greener fast — but even “easy” plants can end up with brown tips, limp leaves or slow growth. With the right spider plant care, you can keep it full, striped and throwing out babies for years.
This guide teaches you how to care for spider plants indoors (light, watering, soil, repotting and propagation). If you’re repotting or reusing containers, you can also read How to Clean and Sanitize Indoor Plant Pots for Healthy Growth.
Contents
- 0.1 Spider Plant Care Basics Indoors
- 0.2 Best Light for Spider Plants
- 0.3 How Often to Water a Spider Plant
- 0.4 Best Soil and Pots for Spider Plants
- 0.5 Feeding Spider Plants Without Overdoing It
- 0.6 How to Propagate Spider Plants
- 0.7 Common Spider Plant Problems and Easy Fixes
- 0.8 FAQs About Spider Plant Care
- 0.9 Final Thoughts on Spider Plant Care
- 0.10 Related Articles
- 1 Choose Plants That Thrive With Less Work
Spider Plant Care Basics Indoors
Spider plants (Chlorophytum comosum) are forgiving, but they thrive best when you match their natural preferences:
Bright, indirect light (but they tolerate a bit of shade)
Even watering (not constantly wet, not bone dry for weeks)
Free-draining compost in a pot with drainage holes
Light feeding in spring and summer
Occasional repotting and trimming
If you get those foundations right, your spider plant will grow in a tidy clump, with long arching leaves and frequent “spiderettes” (baby plants) on trailing stems.
Best Light for Spider Plants
Spider plants do best in bright, indirect light — think “near a window but not cooking in direct midday sun”.
Where to put it
Best: a bright room near an east- or west-facing window
OK: a little further back from a bright south-facing window
Not ideal: very dark corners (growth slows, leaves lose that crisp striped look)
Signs the light isn’t right
Too much sun: pale patches or scorched brown areas on leaves
Too little light: slow growth, thinner leaves, fewer baby plantlets
If you want a fuller plant, good light is the first lever to pull — more than feeding or fancy compost.
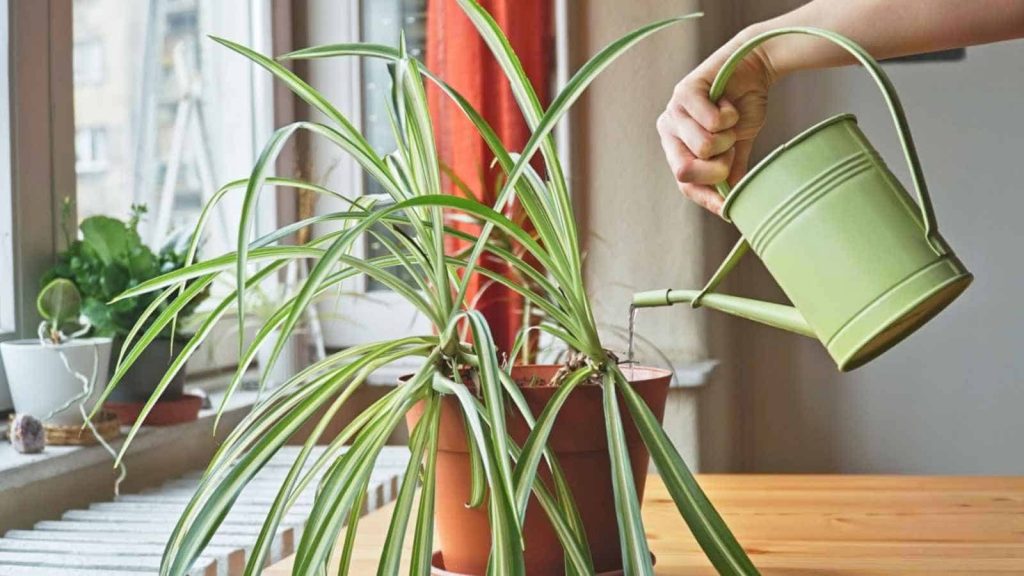
How Often to Water a Spider Plant
Watering is where most spider plants start looking rough — usually from swings between “bone dry” and “flooded”.
A simple watering rhythm
Instead of watering on a strict day, use this rule:
Water when the top 2–3cm of compost feels dry to the touch.
In many UK homes, that’s often every 7–10 days in spring/summer and every 10–21 days in winter — but your light and heating will change that.
How to water properly
Water slowly until you see a little run from the drainage holes.
Let it drain fully, then empty the saucer or outer pot.
Don’t leave it sitting in water — that’s how roots suffocate and rot begins.
Tap water note
Spider plants are known for getting brown tips when minerals build up. If your area has hard water, try:
letting tap water sit overnight before using, or
mixing in occasional rainwater watering (if you collect it cleanly).
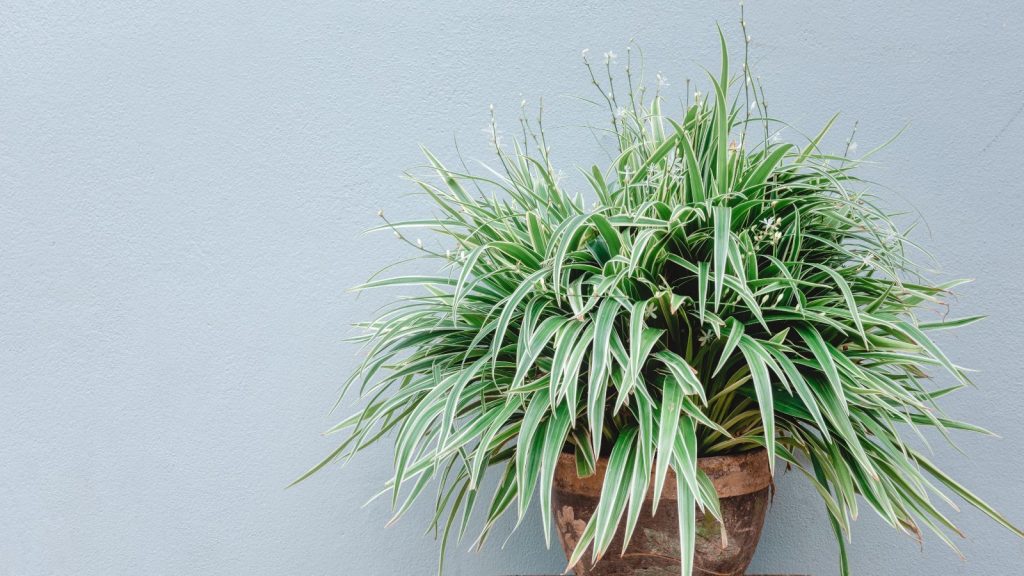
Best Soil and Pots for Spider Plants
Spider plants like a compost that holds some moisture but still drains freely.
Soil
Use a peat-free houseplant compost or a good-quality multipurpose.
If your compost stays wet for ages, add perlite or fine bark to improve airflow around the roots.
Pots
Spider plants do well in:
pots with drainage holes
slightly snug containers (they don’t mind being a bit root-bound)
If you love the trailing look, a hanging planter with drainage and a drip tray makes spider plants much easier to live with indoors (no surprise puddles on the floor).
Feeding Spider Plants Without Overdoing It
Spider plants don’t need heavy feeding, but a little support in the growing season helps them stay lush.
Feed in spring and summer every 3–4 weeks.
Skip feeding in autumn/winter when growth slows.
A balanced liquid houseplant fertiliser used lightly can help support greener growth and more spiderettes without pushing the plant into soft, weak leaves.
Tip: If you notice leaf tips browning, ease back on fertiliser first — overfeeding can make tip-burn worse.
How to Propagate Spider Plants
Spider plants are famous for producing babies, and propagation is straightforward once you know the cleanest method.
Propagate from spiderettes
- Look for baby plants with tiny bumps or short roots.
- You can either root them while still attached, or snip and root separately.
Low-fuss method (root while attached):
Place the baby into a small pot of compost next to the parent (still connected by the stem).
Pin it down gently so it touches the soil.
Keep slightly moist for 1–2 weeks until it grips and grows.
Then snip the connecting stem.
Quick method (snip and root):
Cut the baby off with clean scissors.
Pot into lightly moist compost and keep warm/bright.
Water sparingly until you see fresh growth.
A small set of plant propagation pins can help hold spiderettes against the compost while they root (especially if they keep popping up).
Common Spider Plant Problems and Easy Fixes
Brown Tips
This is the classic issue. Common causes:
irregular watering
mineral build-up from hard water
overfeeding
very dry air near radiators
Fix:
water more consistently
ease off feed
trim brown tips neatly (follow the leaf shape so it looks natural)
move slightly away from direct heat sources
Pale Leaves or Slow Growth
Usually low light or tired compost.
Fix:
move to brighter indirect light
refresh the top layer of compost, or repot if it’s been years
Limp Leaves / Mushy Base
Often overwatering or poor drainage.
Fix:
let the compost dry more between waterings
repot into fresh, freer-draining compost
remove any rotten roots (they’ll be brown and mushy)
Fungus Gnats
These appear when compost stays damp.
Fix:
let the top layer dry more
bottom-water occasionally
remove decaying leaf bits from the compost surface
If you’re dealing with a real swarm, yellow sticky gnat traps for houseplants can help reduce the adult population while you fix the moisture issue.
According to University of Minnesota Extension advice on watering houseplants, most indoor plant issues come from watering too often rather than too little, especially in cooler, low-light months.
FAQs About Spider Plant Care
Why does my spider plant get brown tips even when I water it?
Brown tips often come from inconsistent watering, mineral build-up (hard water), or overfeeding. Try steadier watering, lighter feed, and letting tap water stand overnight before using.
Do spider plants like being root-bound?
They tolerate it well and can even grow faster when slightly snug. But if roots are circling tightly and watering becomes difficult, it’s time to size up by one pot.
Can spider plants live in low light?
They can survive, but they’ll grow more slowly and produce fewer spiderettes. Bright, indirect light gives the best shape and colour.
Are spider plants safe for pets?
They’re generally considered non-toxic, but chewing any plant can still cause mild stomach upset. If your pet loves nibbling leaves, place the plant higher up or use a hanging pot.
Should I mist my spider plant?
It’s not essential. A normal home humidity level is usually fine. If your home is very dry (especially in winter heating), occasional misting or simply moving it away from radiators can help reduce tip-browning.
Final Thoughts on Spider Plant Care
Spider plants are popular because they’re genuinely forgiving, but they look their best with a simple routine: bright indirect light, steady watering, and free-draining compost in a pot that can actually drain. Once you get those basics right, they reward you with fast growth and plenty of baby plants to propagate.
If your plant isn’t looking great, don’t panic — most issues are fixed by adjusting light and watering rather than buying lots of extras. A few small tweaks can turn a scruffy spider plant into a lush one surprisingly quickly.
Related Articles
MAKE HOUSEPLANTS FEEL EFFORTLESS
Choose Plants That Thrive With Less Work
If you love the easy-going nature of spider plants, you’ll enjoy adding a few more low-fuss favourites that cope well with busy weeks and imperfect routines. Discover reliable indoor plants that stay attractive with simple light and watering habits — perfect for building a greener home without constant maintenance.