
Propagating houseplants is one of the most satisfying parts of indoor gardening. You turn one plant into several, save money, and fill your home (or gift others) with fresh greenery. The best part? Most common houseplants are far easier to propagate than you might think.
In this article, you’ll learn how to propagate houseplants from cuttings, division and leaf pieces, plus how to avoid the most common mistakes beginners make. If you’re refreshing old pots at the same time, you might also like How to Reuse Potting Soil Safely for Indoor Plants.
Contents
- 0.1 Understanding the Basics of Houseplant Propagation
- 0.2 Tools and Materials You’ll Need
- 0.3 How to Take Stem Cuttings from Common Houseplants
- 0.4 Dividing Pot-Bound Houseplants
- 0.5 Leaf Cuttings and Special Cases
- 0.6 Looking After New Plants After Propagation
- 0.7 FAQs About Propagating Houseplants
- 0.8 Related Articles
- 0.9 Final Thoughts on Propagating Houseplants
- 1 Essential Indoor Gardening Tools & Tips
Understanding the Basics of Houseplant Propagation
Propagation is simply creating new plants from existing ones. For indoor plants, you’ll mostly use:
Stem cuttings – taking a section of stem with leaves and rooting it in water or compost.
Division – splitting clump-forming plants into several smaller ones.
Leaf cuttings – using a leaf (or part of a leaf) to grow a new plant, common with succulents and some trailing plants.
The exact method depends on the plant, but the core idea is the same: give your cutting or division the right conditions so it can grow new roots before it runs out of stored energy.
Many indoor gardeners follow Royal Horticultural Society guidance on houseplant cuttings for extra detail on timing and technique.
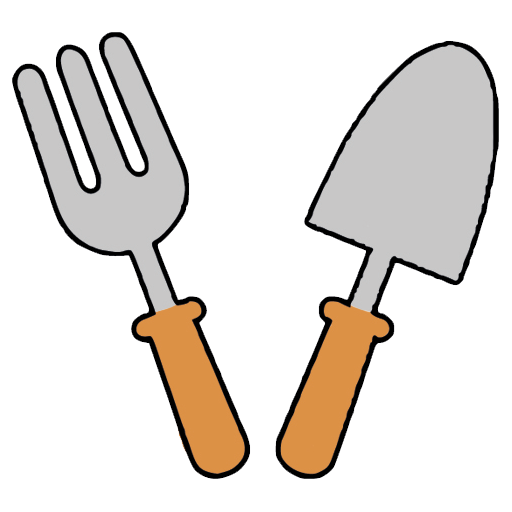
Tools and Materials You’ll Need
You don’t need a huge kit to propagate houseplants, but a few basics make life much easier:
Clean, sharp scissors or pruning snips
Small pots with drainage holes
Fresh potting mix suitable for houseplants
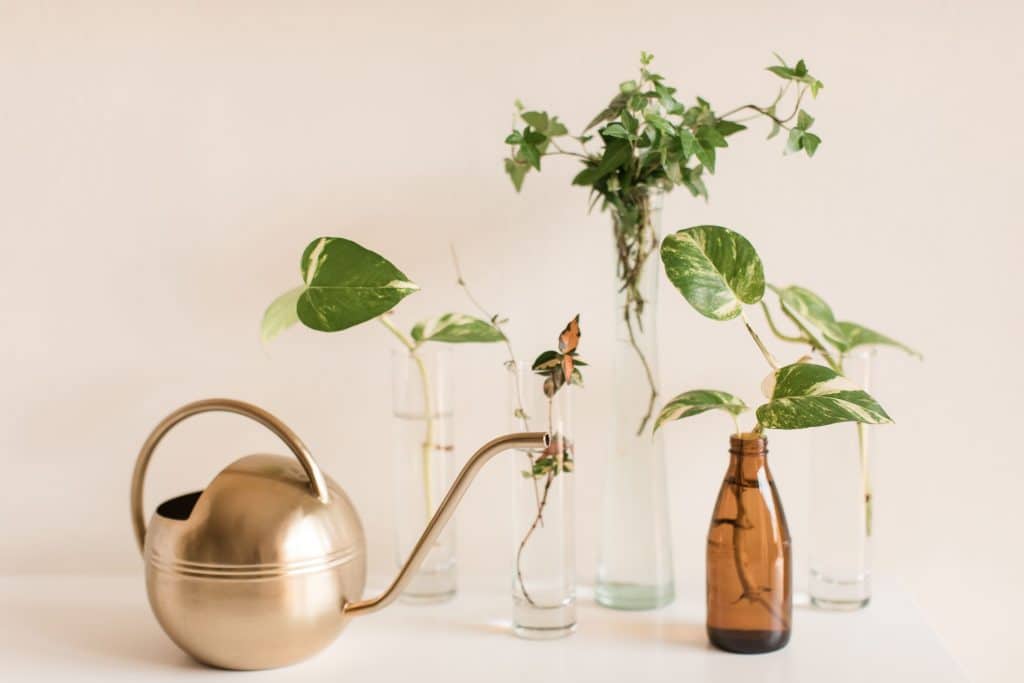
Clear glass jars or vases for water rooting
Plant labels (even simple sticks or tape)
Optional: rooting hormone powder or gel
A small pair of sharp pruning snips is ideal for taking clean cuttings without crushing soft stems.
If you plan to propagate regularly, a simple rooting hormone powder for cuttings can help more sensitive plants root faster and reduce rotting.
Image idea: Flat lay of pruning snips, rooting hormone, labels, and small pots on a work surface.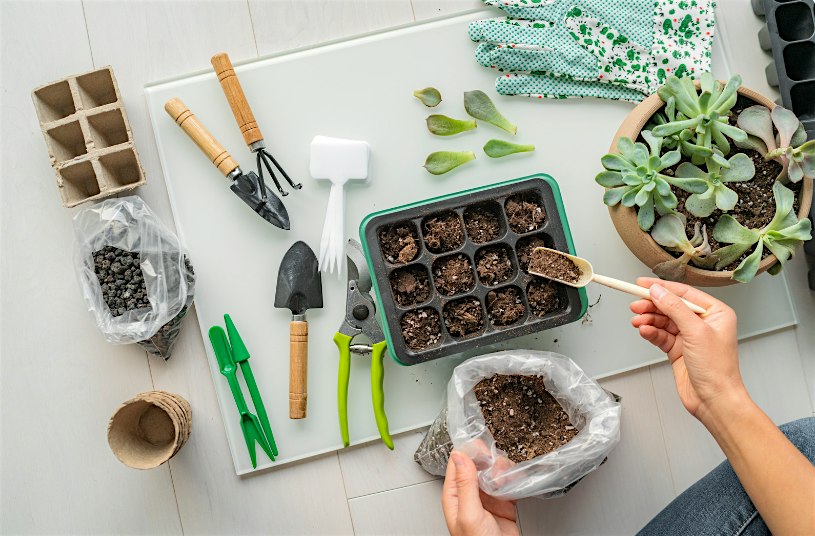
How to Take Stem Cuttings from Common Houseplants
Stem cuttings are the easiest place to start and work brilliantly for plants like pothos, Tradescantia, coleus, pilea, many herbs, and more.
Step 1: Choose the Right Stem
Pick a healthy, non-flowering stem with several leaves.
Avoid yellowing, damaged or very woody stems.
For vining plants, choose a piece with at least 2–3 nodes (the little joints where leaves grow).
Step 2: Make a Clean Cut
Use disinfected scissors or snips.
Cut just below a node, leaving a piece 8–15cm long.
Trim off the lower leaves so you have a bare section of stem to insert into water or compost.
Step 3: Decide: Water or Soil?
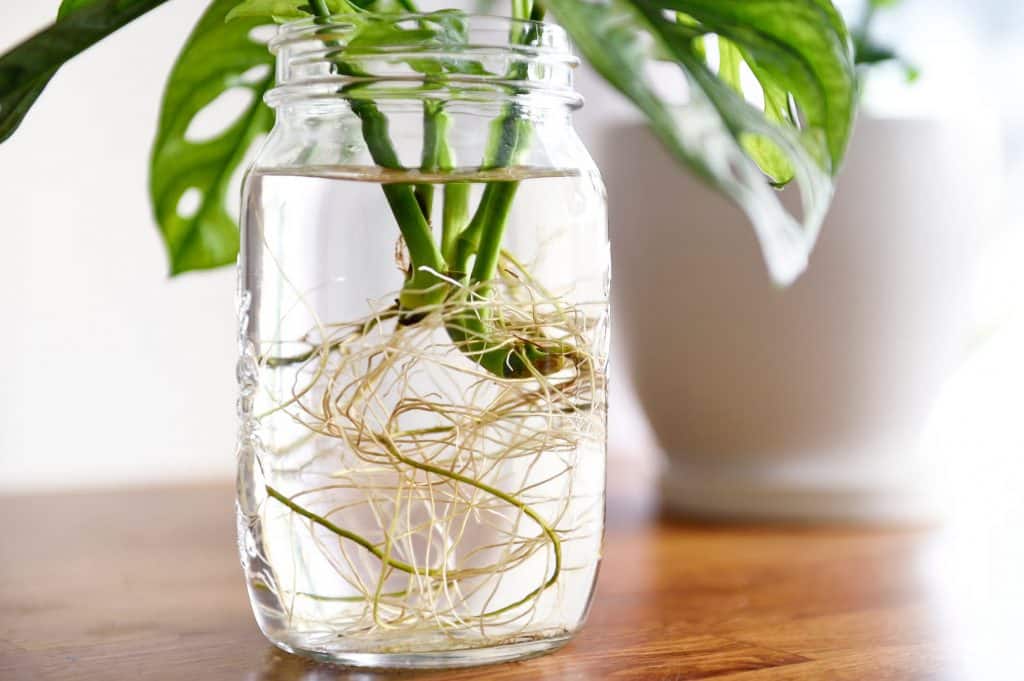
Water rooting
Place the stem in a clean glass or jar of room-temperature water, making sure no leaves sit below the waterline.
Keep in bright, indirect light and change the water every few days.
Roots often appear within 1–4 weeks depending on the plant.
Soil rooting
Dip the cut end in rooting hormone if you’re using it.
Insert into a small pot filled with slightly damp potting mix.
Firm the compost gently around the stem and keep in bright, indirect light.
Maintain lightly moist compost, not soaking.
Dividing Pot-Bound Houseplants
Division is perfect for plants that naturally grow in clumps, such as peace lilies, some ferns, sansevieria (snake plants), and spider plants.
When to Divide
When the plant is clearly pot-bound, with roots circling or popping out of drainage holes.
When growth has slowed and the centre of the plant looks tired while the edges stay vigorous.
Ideally in spring or early summer when plants are actively growing.
How to Divide Safely
- Water the plant well a few hours before dividing to reduce stress.
- Tip it out of the pot, supporting the root ball with your hand.
- Gently tease apart the root ball into two or more clumps. Use a clean knife if roots are very tangled.
- Trim away dead roots or mushy sections.
- Pot each division into fresh compost in a slightly snug pot, then water lightly.
Keep new divisions out of harsh direct sun for a couple of weeks while they settle, and expect a short pause in growth as they rebuild their root systems.
Leaf Cuttings and Special Cases
Some houseplants, especially succulents and certain aroids, can be propagated from leaves or partial stems.
Succulent Leaf Cuttings
Gently twist a healthy leaf away from the stem, making sure you remove the whole base.
Let the leaf dry for a day or two so the wound callouses.
Lay it on the surface of slightly damp, gritty compost.
Keep in bright, indirect light and mist lightly every so often.
Tiny roots and baby rosettes will gradually form at the base of the leaf. Once they’re a few centimetres tall, you can pot them on.
Nodes and “Chunks”
Some plants, such as monstera and philodendron, root best from stem pieces that include a node and aerial root.
Cut just below a node, making sure the piece includes at least one node and ideally a leaf.
Root in water or compost as you would other stem cuttings.
Looking After New Plants After Propagation
Newly rooted cuttings and divisions are more fragile than established plants, so a bit of extra care pays off.
Light: Bright, indirect light is best while roots are forming and strengthening. Avoid harsh midday sun.
Water: Keep compost slightly moist, but let the top layer dry a little before watering again.
Humidity: Many cuttings appreciate higher humidity. You can place clear plastic over the pot (not touching the leaves) to create a mini greenhouse, airing it daily.
Feeding: Hold off on fertiliser until you see fresh new growth, then start with a weak feed every few weeks.
Most importantly, don’t panic if a cutting wilts slightly at first – it’s adjusting. Removing any dying leaves calmly and keeping conditions steady usually helps the plant recover while roots catch up.
FAQs About Propagating Houseplants
How long does it take for cuttings to root?
It depends on the plant and conditions. Fast growers like pothos or Tradescantia can root in 1–2 weeks in water; woody or thicker-stemmed plants may take 4–6 weeks or more. Warmth, bright indirect light and clean water or compost all speed things up.
Is water rooting or soil rooting better?
Water rooting lets you see roots forming and is very beginner-friendly. Soil rooting can give sturdier root systems right from the start. Try both and see which gives you better results for your favourite plants.
Why are my cuttings rotting instead of rooting?
Common causes include using dirty tools or jars, keeping leaves underwater, very cold conditions, or compost that’s too wet. Clean everything before you start, keep leaves above the waterline, and aim for moist rather than soggy soil.
When should I pot up water-rooted cuttings?
Once roots are a few centimetres long and you can see several distinct roots, you can move the cutting into compost. Plant gently, firm the soil lightly, and keep it evenly moist while the roots adjust from water to soil.
Related Articles
Final Thoughts on Propagating Houseplants
Learning how to propagate houseplants opens up a whole new side of indoor gardening. Instead of buying every new plant, you can multiply your favourites, share them with friends, and reshape your collection as your tastes change.
Start with easy stem cuttings and simple divisions, then experiment with leaf cuttings and more unusual methods as your confidence grows. With clean tools, a bit of patience and the right conditions, propagation soon becomes a normal, enjoyable part of caring for your indoor jungle.
UPGRADE YOUR INDOOR GARDEN SETUP
Essential Indoor Gardening Tools & Tips
Learn which tools actually make a difference to your indoor plants – from moisture meters and pruning snips to pots and watering cans. Keep your setup simple, efficient, and easy to maintain so your plants stay healthy all year.