
If you’d love fresh greens but don’t have much space or time, learning how to grow microgreens indoors is a game changer. These tiny seedlings are quick, nutrient-dense, and perfect for windowsills, kitchen counters and shelves.
In this article, you’ll learn exactly how to grow microgreens indoors step by step, from choosing seeds and trays to harvesting and troubleshooting. If you’re also keen to grow full-size herbs, you might like How to Grow Basil Indoors Without Natural Sunlight.
Contents
- 0.1 What Are Microgreens and Why Grow Them Indoors?
- 0.2 What You Need to Grow Microgreens Indoors
- 0.3 Step-by-Step: How to Grow Microgreens Indoors
- 0.4 When and How to Harvest Microgreens
- 0.5 Best Varieties to Grow as Indoor Microgreens
- 0.6 Common Problems When Growing Microgreens Indoors
- 0.7 FAQs About Growing Microgreens Indoors
- 0.8 Final Thoughts on Growing Microgreens Indoors
- 0.9 Related Articles
- 1 Easy Ways to Use Microgreens in Everyday Meals
What Are Microgreens and Why Grow Them Indoors?
Microgreens are young vegetable or herb plants harvested just after their first true leaves appear. They’re older than sprouts but much younger than baby salad leaves.
Growing microgreens indoors gives you:
Fast results – many varieties are ready in 7–14 days.
Minimal space use – you only need shallow trays and a bright spot.
Year-round harvests – you’re not relying on outdoor weather.
Fresh flavour and colour – perfect for salads, sandwiches and garnishes.
Popular microgreens include radish, broccoli, pea shoots, sunflower, mustard, rocket, coriander and beetroot. You can grow single varieties or mix your own blends once you get the hang of it.

What You Need to Grow Microgreens Indoors
You don’t need a lot of equipment – just a few basic items that you can reuse for future batches.
Trays and Containers
Shallow trays 3–5cm deep work best.
Drainage holes are helpful, especially if you’re new to watering.
Old takeaway containers or seed trays can work if you add holes.
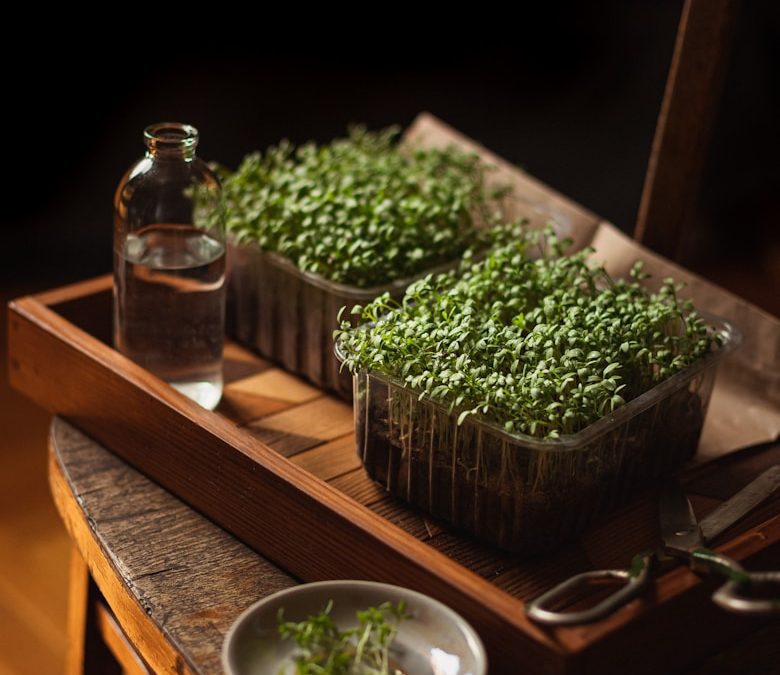
A microgreens growing tray with drainage holes makes it easier to water evenly and avoid soggy patches as your crop grows.
Growing Medium
Most people use a fine, peat-free seed compost or a light potting mix. You can also use coir (coco fibre) or specialist microgreen mats, but a simple compost is ideal to start with.
Seeds
Look for packets specifically labelled for microgreens or sprouting, as they’re usually untreated and sold in larger quantities. Good starter options: radish, pea, broccoli, sunflower, rocket, and mustard.
Light
Microgreens need bright, indirect light to grow sturdy and green. A sunny windowsill often works, but in darker homes you may want a small grow light.
An adjustable LED grow light bar for shelves can keep microgreens short, thick and vibrant even on gloomy days.
Watering
You’ll need:
A fine-rose watering can, or
A misting bottle for very young seedlings
Step-by-Step: How to Grow Microgreens Indoors
1. Prepare the Trays
Fill each tray with 2–3cm of moist, fine compost.
Level the surface gently with your hand or a small board.
The compost should be damp like a wrung-out sponge, not soaking.
2. Sow the Seeds
Scatter seeds evenly over the surface – denser than normal sowing, but not piled on top of each other.
You’re aiming for a single layer of seeds with a little breathing room.
Lightly press them into the compost with your hand or a flat object.
Some growers like to cover very small seeds with a thin layer of compost; larger seeds (like peas and sunflower) can be lightly covered or left on the surface with a bit of extra pressing.
3. Water Gently
Mist the surface or water very gently so seeds don’t wash into clumps.
If your tray has drainage holes, you can also stand it briefly in a shallow tray of water so moisture wicks up from the bottom.
Avoid leaving trays sitting in deep water for long periods.
4. Germination Phase
Place trays in a warm, bright spot out of direct sun.
Some people cover trays with a second tray or lid for the first 2–3 days to keep moisture in and encourage even germination – just check daily and allow some air in.
Most microgreens start to sprout within 2–5 days depending on variety and temperature.
5. Light and Growth
Once most seeds have sprouted:
Remove any covers and move trays into brighter light.
Aim for bright, indirect light for most of the day.
If seedlings stretch and become pale or “leggy”, they need more light.
A simple soil moisture meter for indoor plants can be handy if you’re unsure whether the compost under your microgreens is still damp or starting to dry out.
6. Watering During Growth
Check trays daily – the shallow compost dries out faster than deep pots.
Water gently when the surface starts to dry.
Bottom-watering (standing trays briefly in a shallow dish of water) keeps foliage cleaner and reduces the risk of mould.
When and How to Harvest Microgreens
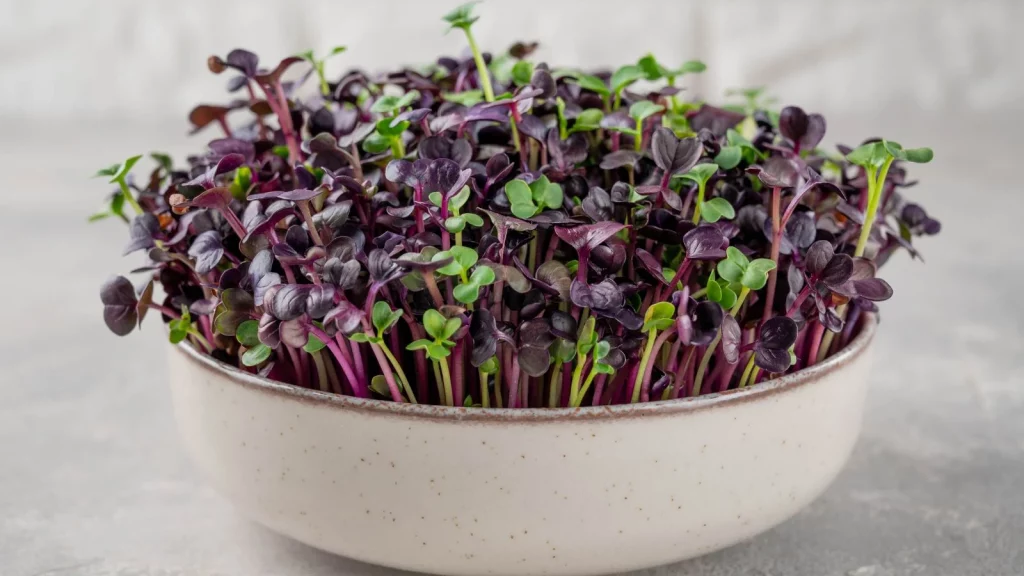
Most microgreens are ready to harvest when they are 5–10cm tall and have developed their first set of true leaves (the second pair after the initial seed leaves).
Harvesting Tips
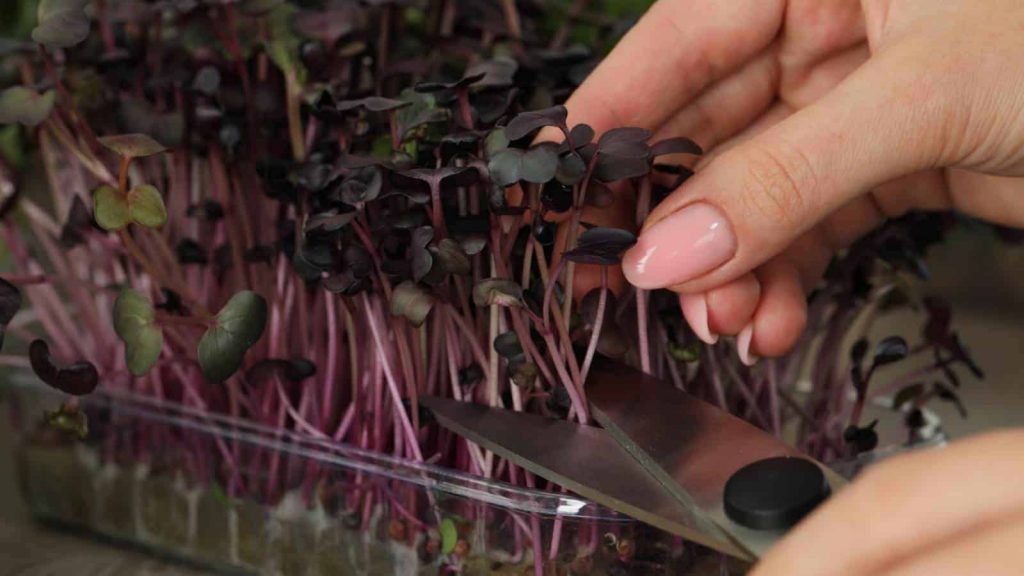
Use clean scissors or a sharp knife.
Cut just above the compost surface – don’t pull plants up with roots.
Rinse gently if needed, then dry on kitchen paper before using.
You can harvest:
All at once for a big batch, or
In stages, trimming what you need and leaving the rest for a few more days.
Most microgreens won’t regrow strongly after cutting (pea shoots sometimes do), so plan to sow new trays regularly for a constant supply.
Best Varieties to Grow as Indoor Microgreens
While you can experiment with many seeds, some are especially reliable for beginners.
Fast and Peppery
Radish
Mustard
Rocket
These come up quickly and add a bit of heat to salads and sandwiches.
Mild and Versatile
Broccoli
Kale
Kohlrabi
These brassica microgreens have a mild flavour and work in almost any dish.
Sweet and Crunchy
Pea shoots
Sunflower
These produce thicker, more substantial shoots and are great in stir-fries or as a garnish.
Herb Microgreens
Coriander
Dill
Basil
Herb microgreens can take slightly longer but bring a lot of flavour even in tiny amounts.
Common Problems When Growing Microgreens Indoors
Even though microgreens are fairly easy, a few issues crop up regularly.
Leggy, Pale Seedlings
Usually caused by low light or trays placed too far from a window or grow light.
Fix: Move trays closer to bright light, or use a grow light bar positioned 15–30cm above the leaves.
Mould or Fungal Growth
White, fluffy growth on the compost surface may indicate poor airflow or constantly soggy conditions. (Fine root hairs can also look white and fuzzy, but they’re attached directly to roots and disappear when misted.)
Fix:
Improve air movement (small fan on a low setting, or just more space around trays).
Water less often, and favour bottom-watering.
Remove any obviously rotten material.
Uneven Germination
Some patches may be bare or slow to sprout.
Fix:
Sow more evenly next time.
Gently press seeds into the compost after sowing.
Ensure the compost is evenly moist before and after sowing.
FAQs About Growing Microgreens Indoors
Do I need grow lights to grow microgreens indoors?
Not always. A bright windowsill can be enough, especially in spring and summer. In darker rooms or during winter, a small LED grow light helps keep microgreens short, sturdy and richly coloured instead of tall and pale.
How long do microgreens take from sowing to harvest?
Most microgreens are ready in around 7–14 days, depending on the variety and your indoor conditions. Radish and mustard are often quickest, while herbs and pea shoots can take a little longer.
Can I reuse the compost after harvesting microgreens?
You can, but it’s best to refresh it. Remove the old roots and stems, mix the remaining compost with some fresh potting mix, and use it for non-seedling plants or in outdoor containers. For repeated microgreen sowings, starting with fresh or refreshed compost reduces disease risk.
Are microgreens more nutritious than mature plants?
Many studies suggest microgreens can contain higher concentrations of certain vitamins and antioxidants than the mature plant, but the most practical benefit at home is having very fresh, flavourful greens you’ll actually use.
Can I grow microgreens from normal vegetable seeds?
Yes – as long as the seeds are safe for eating as microgreens and not treated with fungicides or coatings intended for outdoor sowing. Look for seed packets labelled for sprouting or microgreens when possible, especially at the beginning.
Final Thoughts on Growing Microgreens Indoors
Learning how to grow microgreens indoors is one of the quickest wins in small-space gardening. With shallow trays, a bit of compost and a handful of seeds, you can turn a dull windowsill into a productive strip of colour and flavour in a week or two.
Start with easy, fast varieties like radish, pea shoots and broccoli, then branch out into mixes and herbs as your confidence grows. Keep light, moisture and hygiene in balance, and you’ll have a near-constant supply of fresh greens no matter what the weather’s doing outside.
Related Articles
TURN A WINDOWSILL INTO A MINI GREENS FACTORY
Easy Ways to Use Microgreens in Everyday Meals
Once you know how to grow microgreens indoors, the next step is making them part of your routine. Sprinkle them over omelettes, stir them into grain bowls, top soups and curries, or pile them into sandwiches instead of shop-bought salad mixes. A couple of trays on rotation can give you a steady stream of fresh greens with very little effort.