Contents
How to Grow Dill Indoors (Beginner-Friendly Guide)
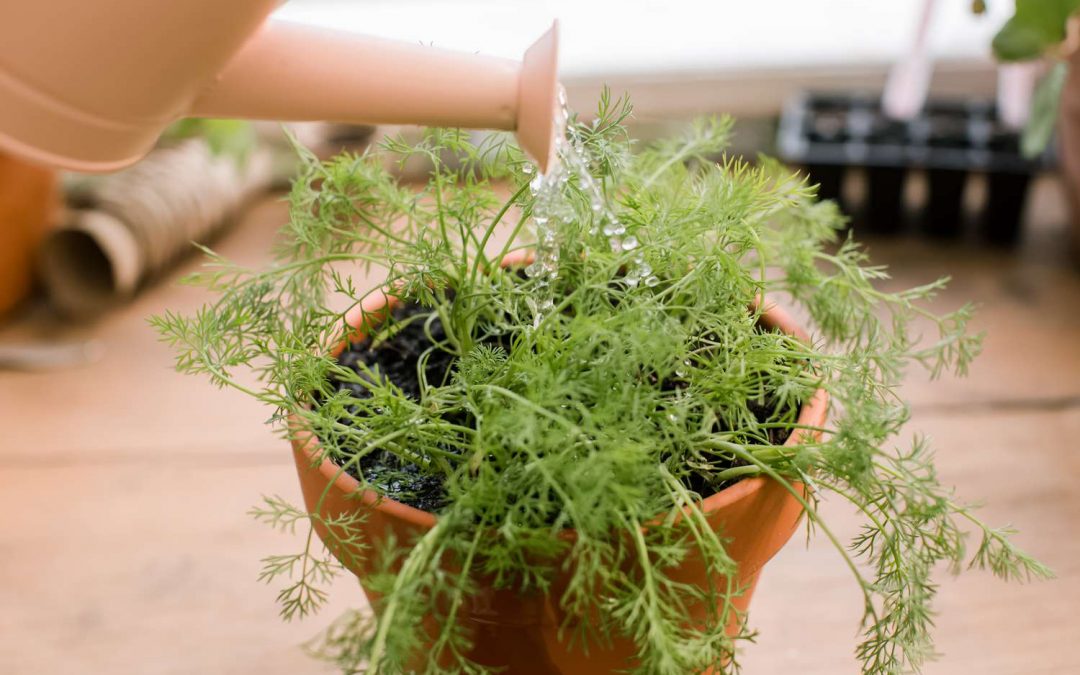
Fresh dill brings an aromatic touch to your meals—and the good news is, you can grow it year-round right from your windowsill! Whether you’re after dill leaves for cooking or seeds for pickling, learning how to grow dill indoors is simpler than you think. In this guide, you’ll learn the best practices, common mistakes, and expert tips to help you enjoy healthy, lush dill plants without stepping outside.
Why Grow Dill Indoors?
Dill (Anethum graveolens) is a flavorful herb used in countless dishes—from potato salad to pickles. Growing dill indoors offers several benefits:
- Fresh harvest all year long
- No need for outdoor space
- Protection from pests and bad weather
- Easy access right from your kitchen
Plus, dill is an excellent companion plant that can help deter pests naturally if you’re growing other herbs nearby.
Ideal Conditions for Growing Dill Indoors
1. Choose the Right Container
- Use a pot that’s at least 8 inches deep to support the taproot.
- Ensure it has good drainage holes to avoid root rot.
2. Use Well-Draining Soil
- Go for a light potting mix enriched with organic compost.
- Avoid heavy garden soil—it can lead to soggy roots and fungal issues.
3. Provide Plenty of Light
- Dill needs at least 6 hours of sunlight daily.
- A south-facing windowsill is ideal.
- Use a grow light if natural light is limited. Try this compact grow light from Amazon.
4. Water Carefully
- Keep soil moist but not soggy.
- Allow the top inch of soil to dry before watering again.
- Use a moisture meter for best results. Check out this soil moisture meter
5. Maintain Warm Temperatures
- Dill prefers temps between 18°C to 24°C.
- Avoid drafty windows or cold kitchen corners.
How to Plant Dill Indoors
- Start from Seeds: Dill doesn’t transplant well, so start with seeds.
- Sow Sparingly: Plant seeds ¼ inch deep in moist soil.
- Thin Seedlings: Once they’re 2 inches tall, thin them to about 4 inches apart.
- Rotate Regularly: Turn the pot weekly to promote even growth.
Harvesting Your Dill
- Start harvesting once the plant is 6-8 inches tall.
- Snip off outer leaves first, allowing the inner ones to grow.
- For seed harvesting, allow the plant to flower and set seed heads.
To ensure continual growth, only harvest ⅓ of the plant at a time.
Common Mistakes to Avoid When Growing Dill Indoors
- Not Enough Light: Leads to leggy, weak plants.
- Overwatering: Causes yellowing and root problems.
- Skipping Thinning: Crowded seedlings compete for nutrients.
- Transplanting: Dill hates being moved—always start in the final pot.
- Poor Drainage: Increases risk of fungal infections.
Final Thoughts on Growing Dill Indoors
Growing dill indoors is a rewarding experience that doesn’t require a green thumb. With proper light, careful watering, and good soil, your dill can thrive on a windowsill all year long. Remember, consistency is key—monitor your plant weekly and make small adjustments as needed.
Not only will your kitchen benefit from the fresh herb, but you’ll also enjoy the beauty and fragrance it adds to your space. From garnishing soups to preserving cucumbers, dill is a versatile plant that’s worth growing indoors.
Want to learn more about indoor herb gardening techniques? Explore additional resources and best practices for herb care on Gardening Know How.

